Manage Projects
Once a Project has been created, there are further details that can be specified and managed. From the Project record, users can create Materials, create Inventory, and view submitted surveys, as well as add shipping addresses, assign containers, add custom fields, add contacts, and add project-specific instructions.
1. Click Owners in the left navigation menu, then select Projects.
The Projects Hub will display.
2. Locate the Project needing the auto-email and click the Project ID.
1. Click the Ship From Addresses option on the Project record.

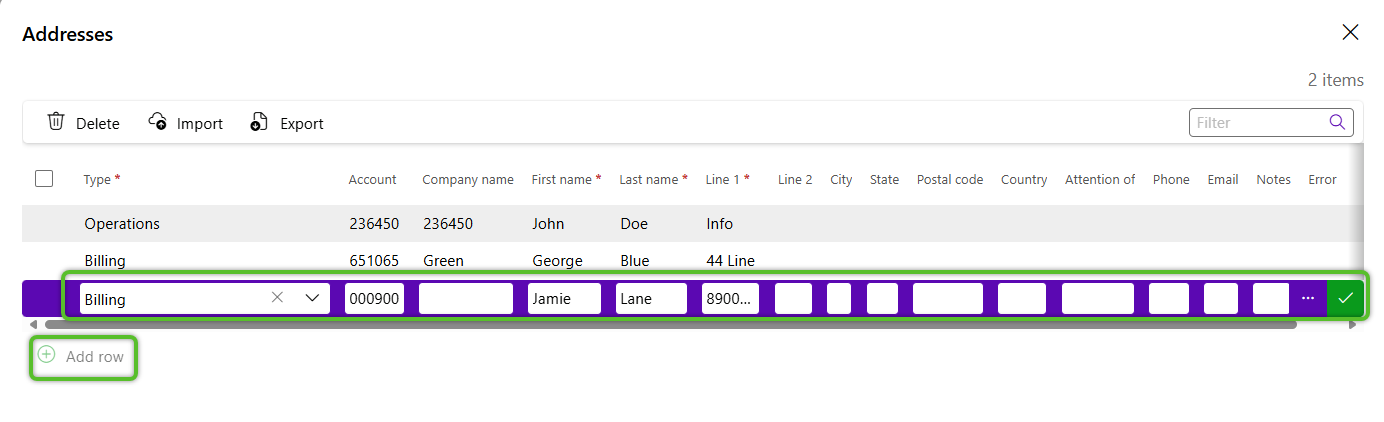
2. In the Addresses window, click the green + Add Row option.
3. Locate or enter the new address details, then click the green check mark at the end of the address row.
The address will now be associated as a Ship From Address for the Project.
4. Repeat the process to add as many Ship From Addresses as needed.
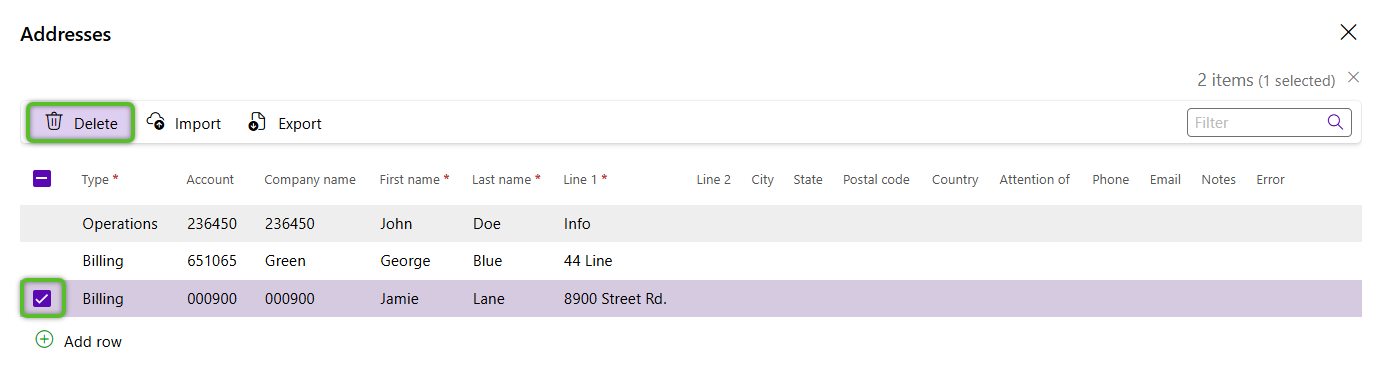
To remove an address, check the box for the Ship From Address row, then click the Delete option.
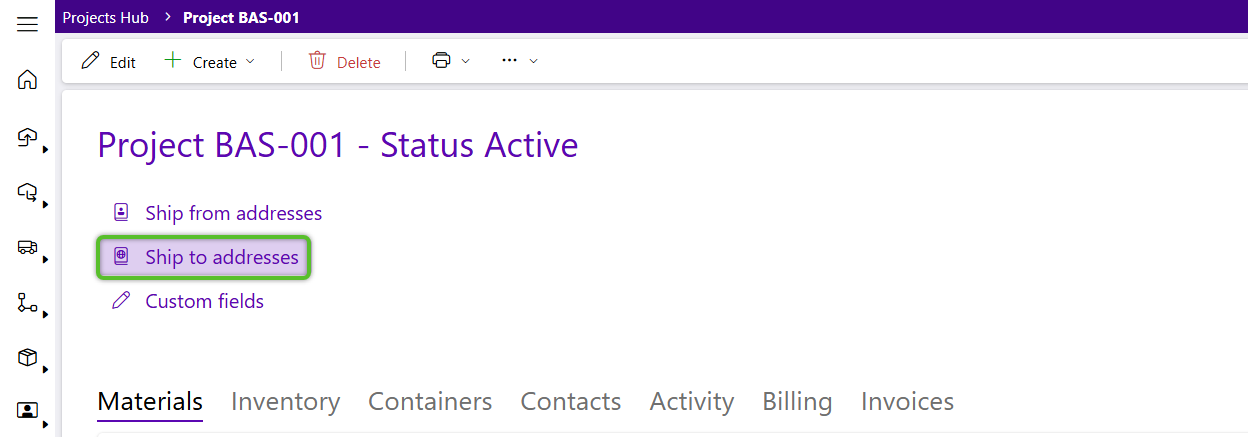
1. Click the Ship To Addresses option on the Project record.
2. In the Addresses window, click the green + Add Row option.
3. Locate or enter the new address details, then click the green check mark at the end of the address row.
The address will now be associated as a Ship To Address for the Project.
4. Repeat the process to add as many Ship To Addresses as needed.
To remove an address, check the box for the Ship To Address row, then click the Delete option.
1. Click the Containers tab.
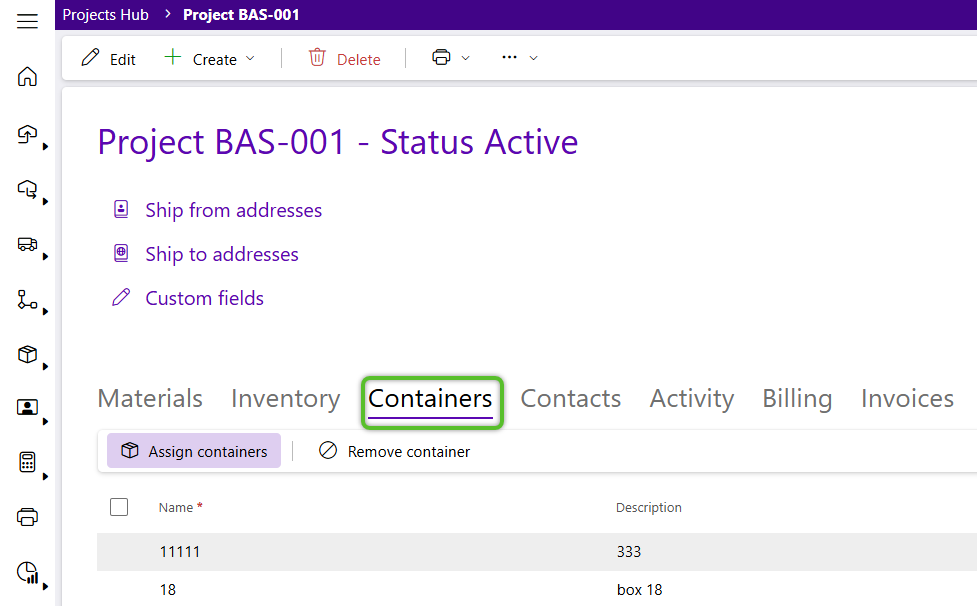
2. In the Container tab, click the Assign Containers button to open and select a Container, or click the green + Add Row option to create a new one.
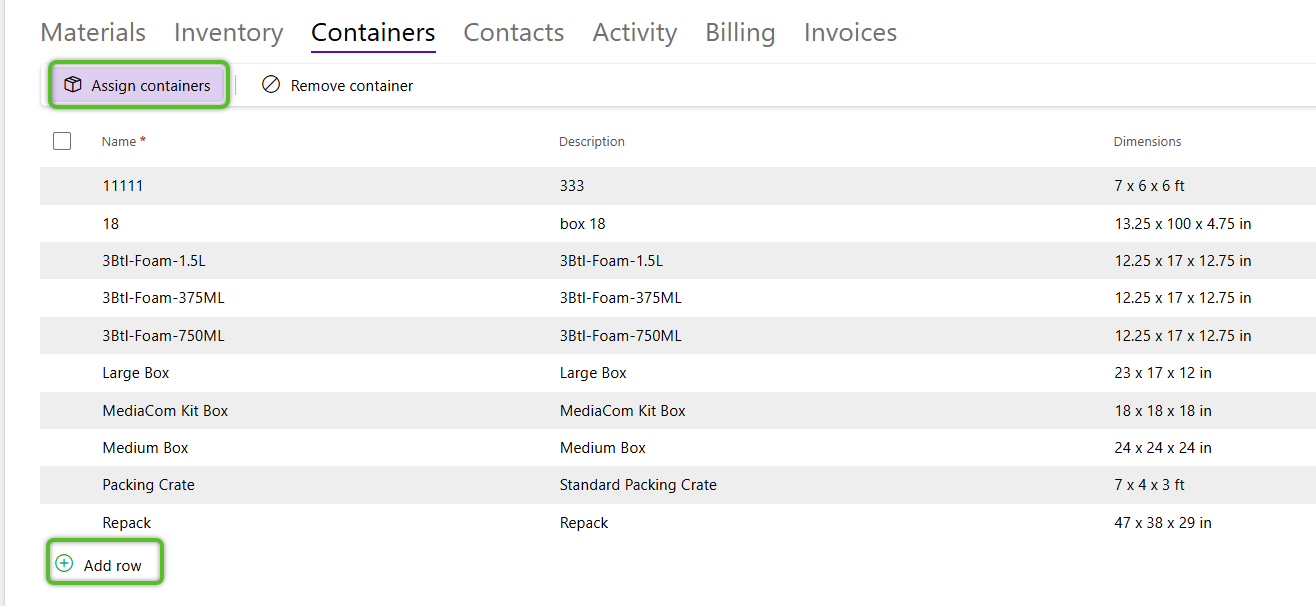
The container will now appear on the list of containers assigned.
3. Repeat the process to assign as many Containers as needed.
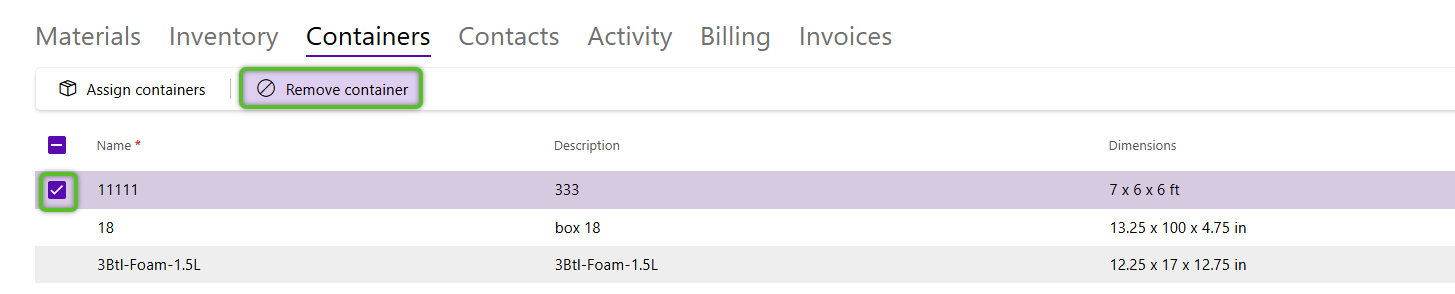
To remove a Container, check the box for the Container row, then click the Remove Container option.
The Contacts tab allows you to set up contacts associated with the Project.
1. Click the Contacts tab, then click the green + Add Row option.
2. Enter the desired Contact and it's required details, enter any of the optional details, then click the green check mark at the end of the row.
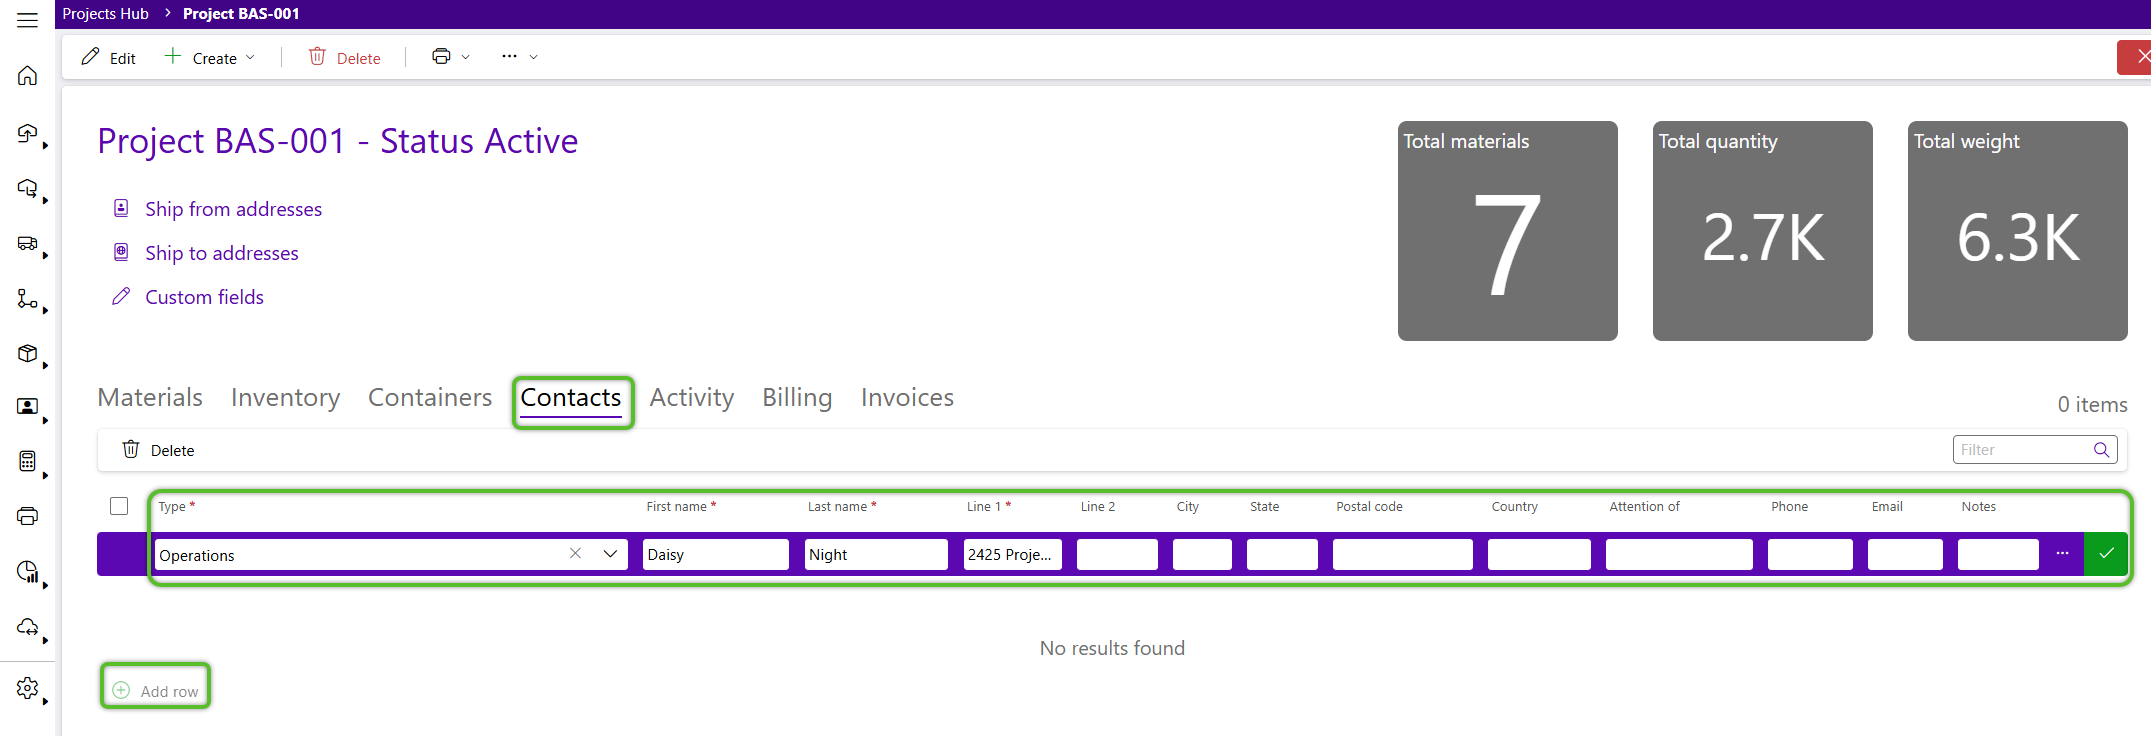
The associated contact will now be displayed in the Contacts list for the Project.
3. Repeat the process to add as many Contacts as needed.
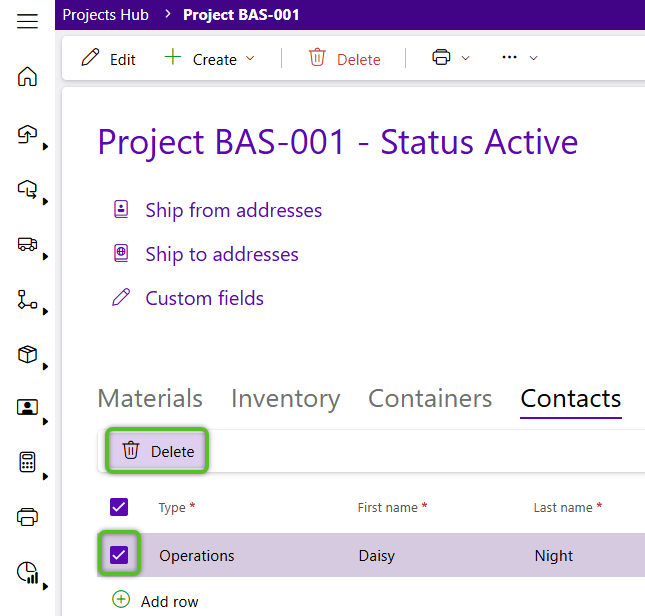
To remove a Contact, check the box for the Contact row, then click the Delete option.
1. Under the additional options of the Project toolbar select Instructions.

2. Click the Add row button.
3. Select an instruction Type and enter the Instructions and any optional details, then click the green check mark.
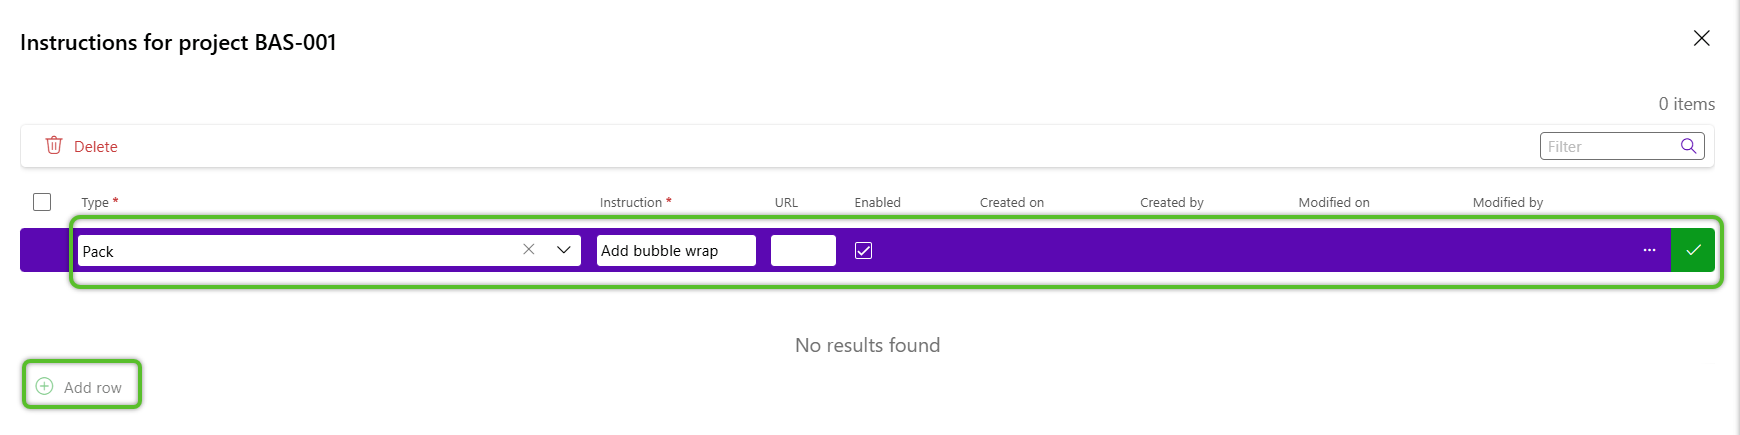
The Project Instruction will now appear in the list on the Instructions tab.
4. Repeat the process to add as many Instructions as needed.
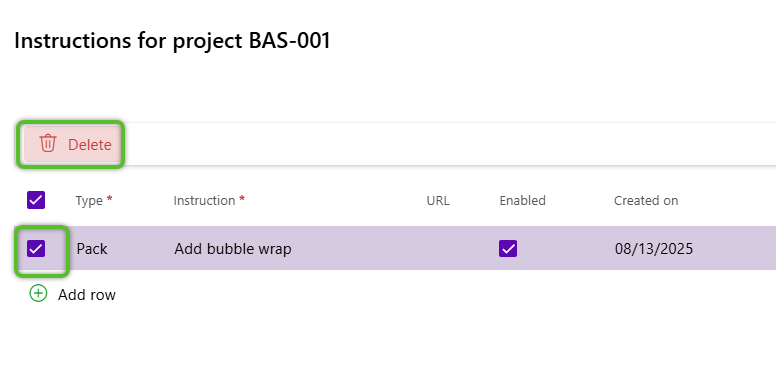
To remove a Project Instruction, check the box for the Instruction row, then click the Delete option.
| Last Updated: |
| 08/13/2025 |
Copyright © 2026 Datex Corporation