Create an ASN Order
Advance Shipment Notice (ASN) Orders, like Purchase Orders, are the beginning of the process to bring inventory into the Warehouse. Typically, ASN Orders will automatically be generated for you. If the information is not being received electronically, and you are required to manually enter the Order information, the process is nearly identical to the standard Inbound Order process; the only differences are the added information of License Plates and Lots, and the way the Order is processed. Once created, the ASN Order can be managed from the Inbound Hub.
1. From the Inbound Hub, click the option to + Create ASN Order.
Tip
Values already selected in the Inbound Hub Filters, such as Owner, Project, or Warehouse will auto-populate. Otherwise, the Warehouse field populates based on the user's Default Warehouse.
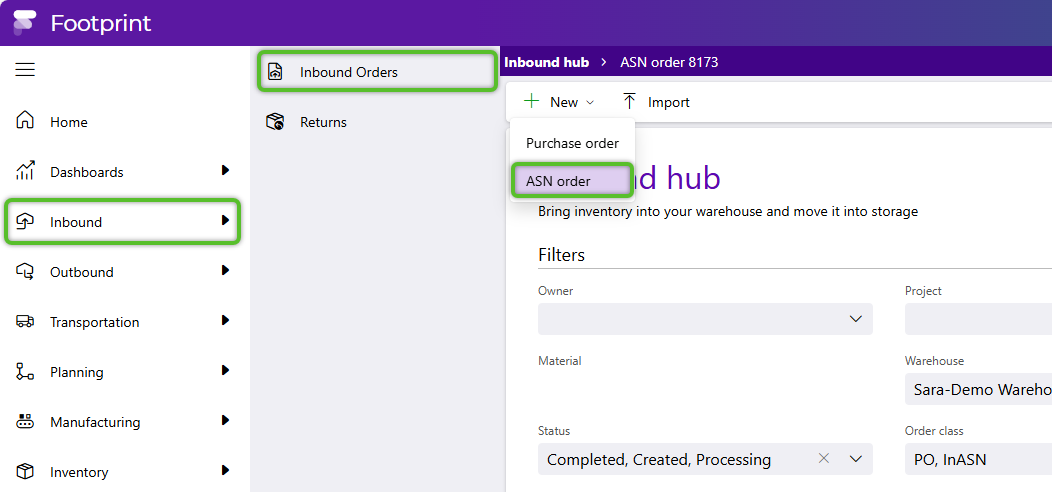
The Lookup will populate an Order number upon creation, unless otherwise specified, and the Order Class defaults to ASN.
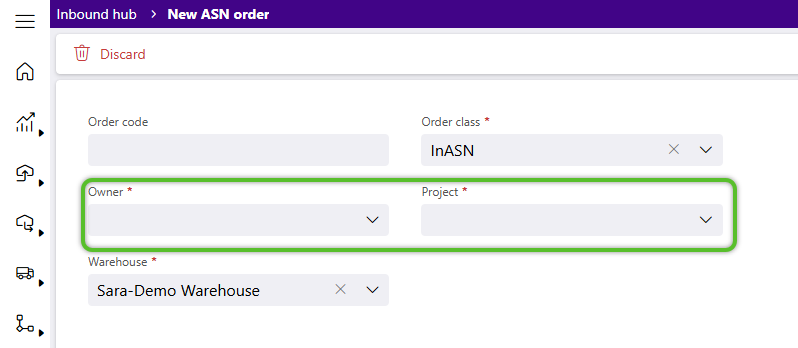
2. Select the required Owner of the Materials that will be coming.
3. Select the required Project for the Materials and tab out of the field to create the new Inbound Order.
4. To enter optional information about the vendor from whom you are ordering, click to open the Details dropdown.
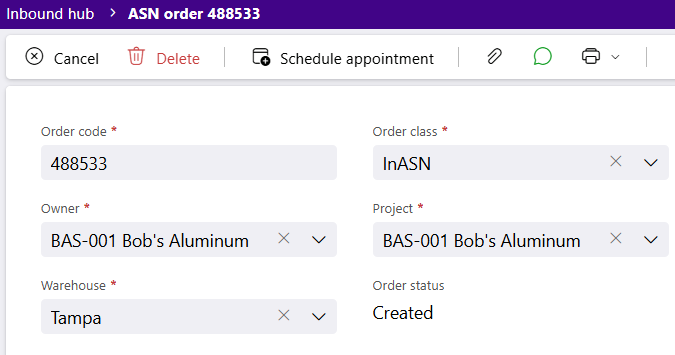
| Lookup: | The Lookup Number for the Order. |
| Order Class: | The Order Class the Order has been assigned to. |
| Owner: | The Name of the Owner for whom the Order was created. |
| Project: | The Name of the Project associated with the Order. |
| Warehouse: | The Warehouse where the Order was Created. |
| Order Status: | The current Status of the Order. |
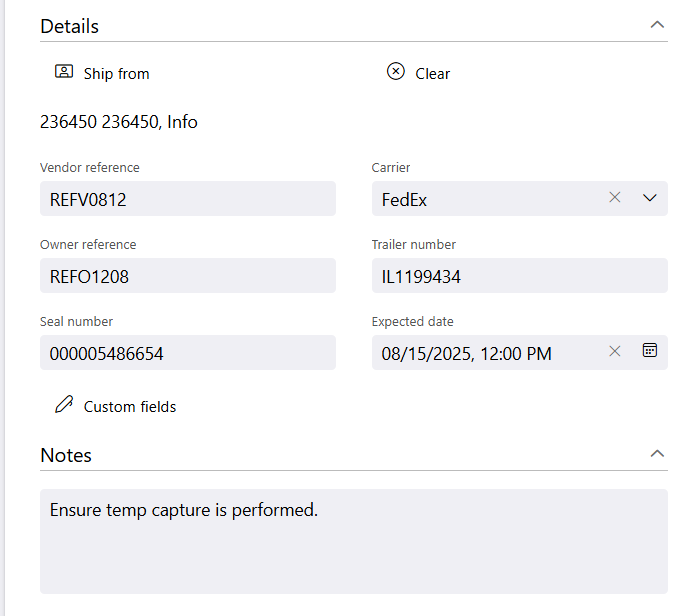
| Ship From: | The Ship From Address for the Order. |
| Vendor Reference: | The Reference Number given to the Vendor for the Vendor's Reference. |
| Expected Date: | The Date the Delivery is Expected by, if specified in the Order's creation. |
| Carrier: | The Carrier specified for the Order. |
| Owner Reference: | The Reference Number given to the Order for the Owner's Reference. |
| Trailer Number: | The Trailer Number for the Order. |
| Seal Number: | The Seal Number for the Order. |
| Notes: | Any Notes for the Order. |
| Custom Fields: | Specific to your organization. |
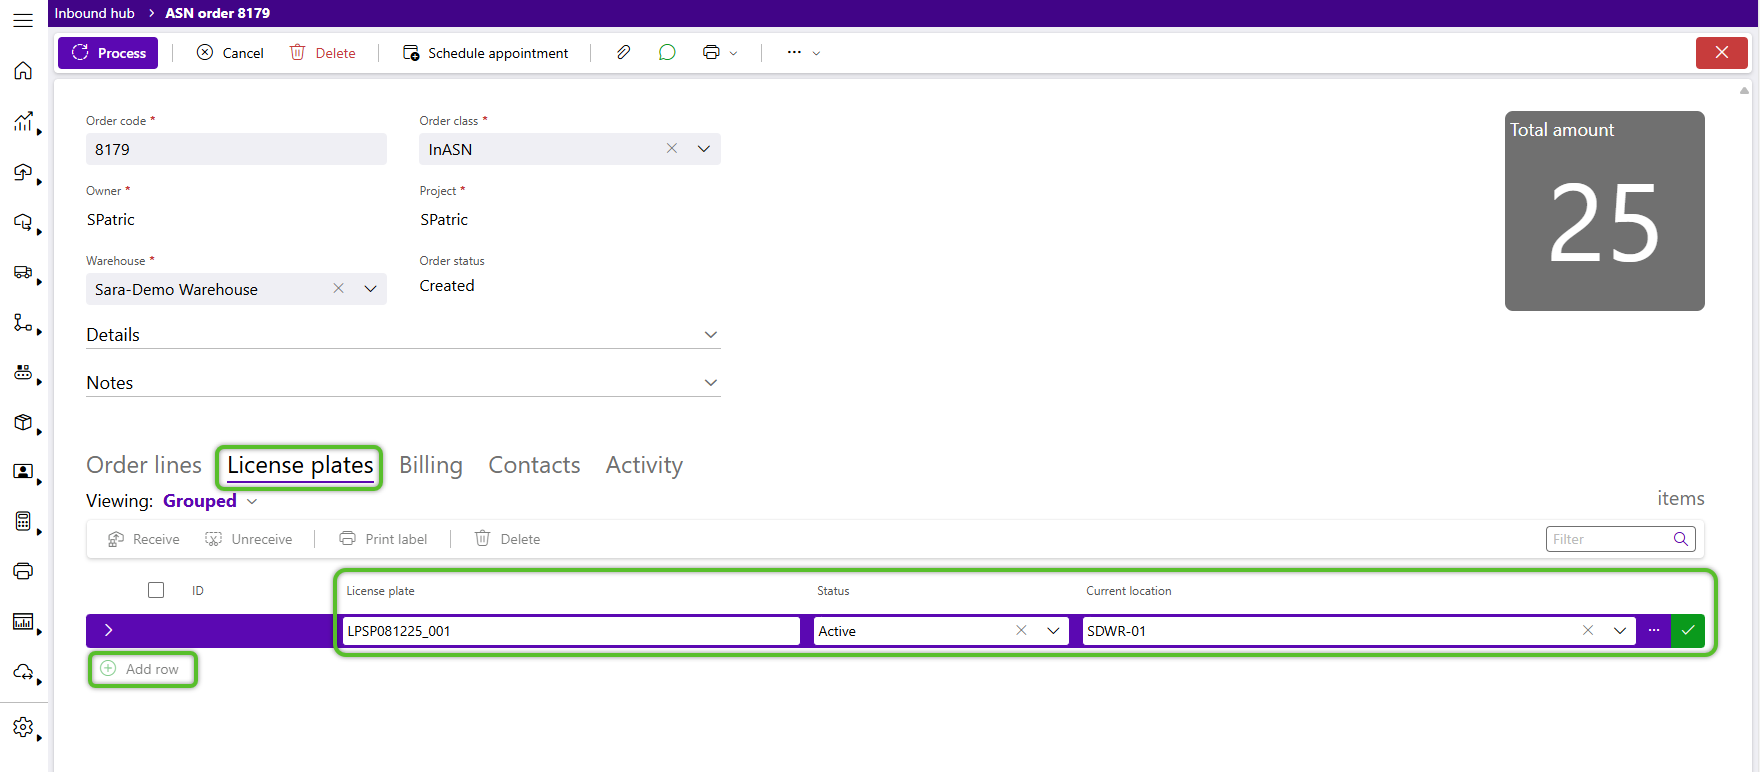
5. On the License Plate tab click the green + Add Row option at the bottom to begin specifying the "packs" being sent, in the form of License Plates.
6. Complete all License Plate fields, then tab through or click the green checkmark at the end of the row.
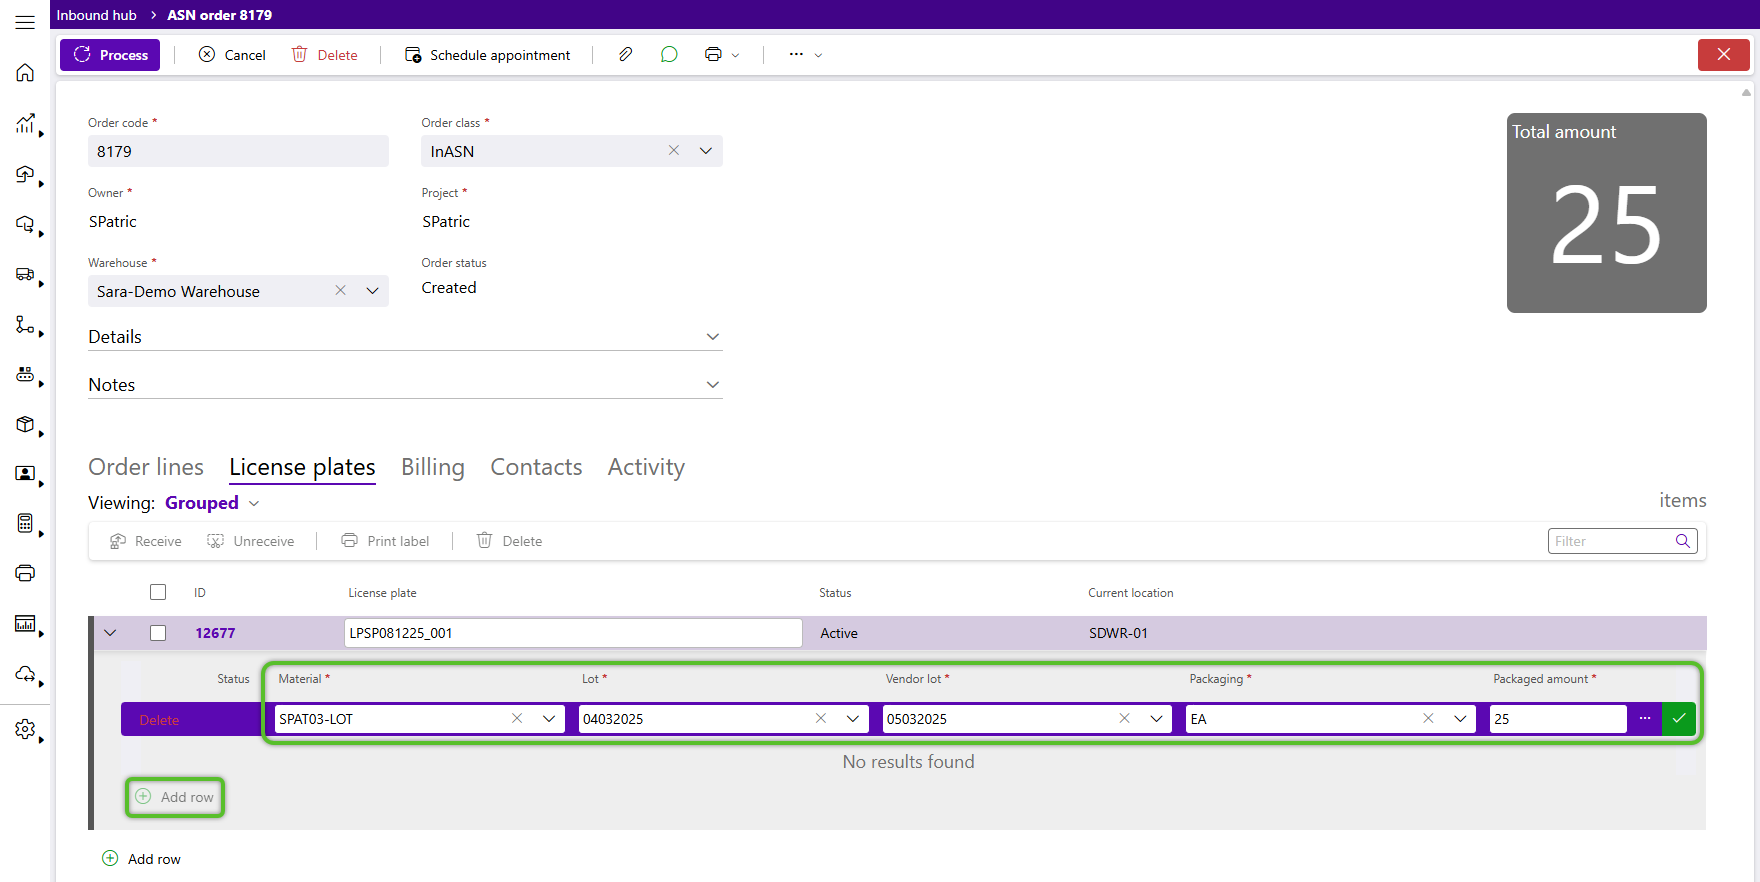
7. Click the arrow to the left of the License Plate number to open it and add the Order Lines. Order Lines can also be added from the Lines tab.
8. Click the green + Add Row option to add order Lines to the License Plate.
9. Select a Material from the list available to the Project.
10. Complete the required fields, then click the green checkmark at the end of the row.
Repeat steps 8-10 to add more order Lines to the License Plate.
Repeat steps 5-10 for each License Plate. All the new License Plates will populate under the License Plates tab.
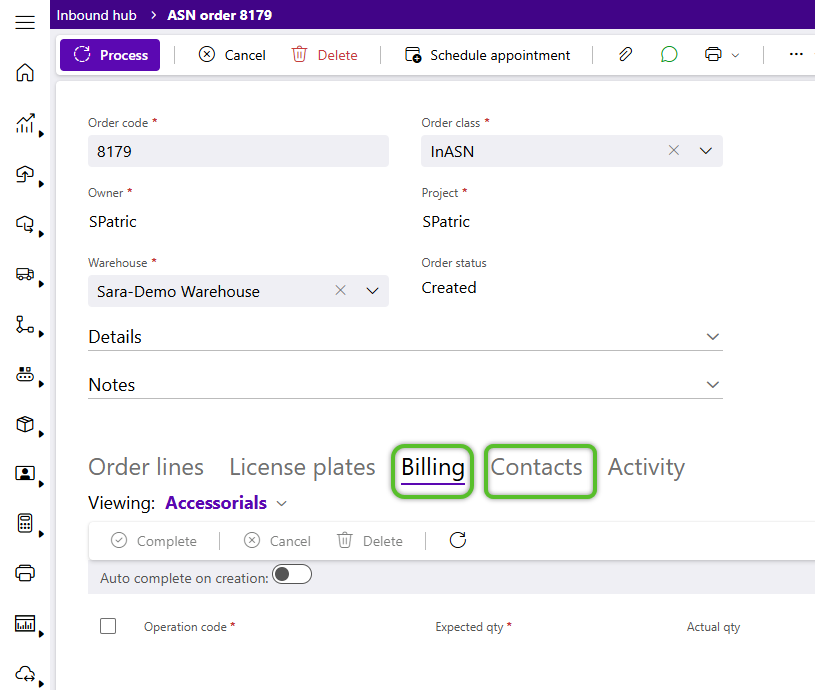
11. Click the Billing tab to add charges, and/or the Contacts tab to add contacts.
12. Use the Order Toolbar options to Add a Dock Appointment, Add Attachments, Add Comments, and so on.
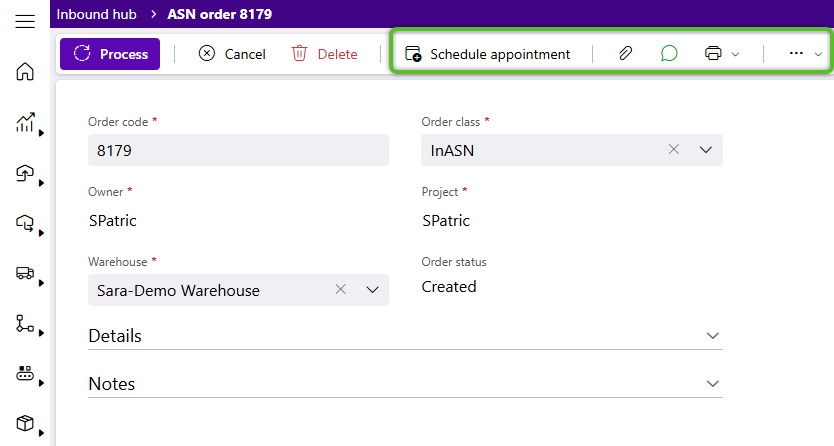
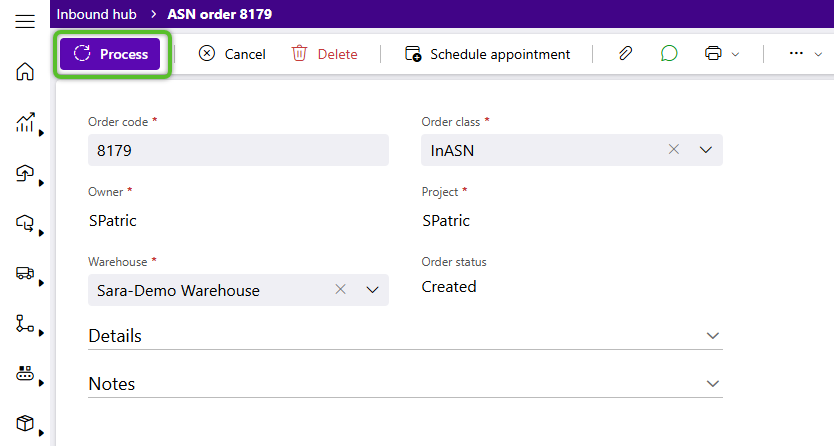
13. Finally, when Receiving for the order may begin, click the Process option in the Order Toolbar.
Note
To Process and Inbound Order, a Default Receiving Location must be set.
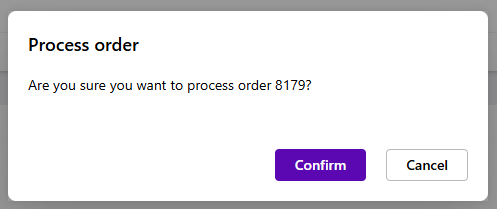
14. Review the details in the Process Order window, then click the Confirm button.
Now that you've created and processed the new ASN Order, Receiving can begin and the order can be managed as needed from the Inbound Hub.
| Last Updated: |
| 08/12/2025 |
Copyright © 2026 Datex Corporation