Create an Outbound Dock Appointment
Dock Appointments allow you to schedule Shipments to your Dock Doors. Outbound Dock Appointments can be created within Outbound Orders, from the Outbound Hub, from an Outbound Load Container, or from the Dock Appointments Hub. Regardless of where the Outbound Dock Appointment is created, the (following) steps are the same.
Prerequisites
1. Click the Appointment option in the top Outbound Order toolbar.
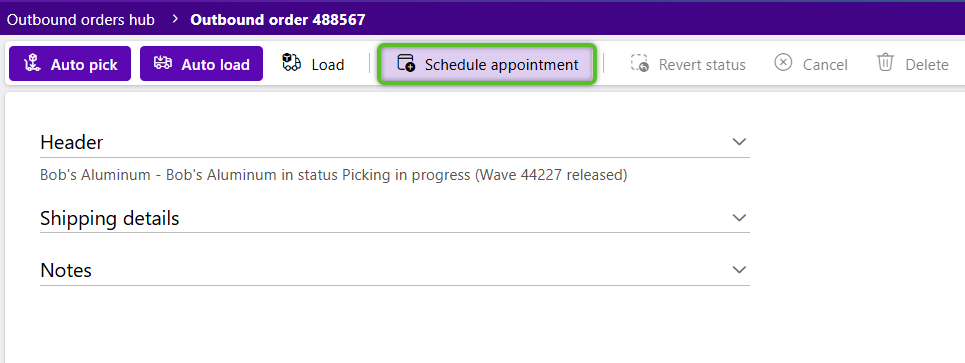
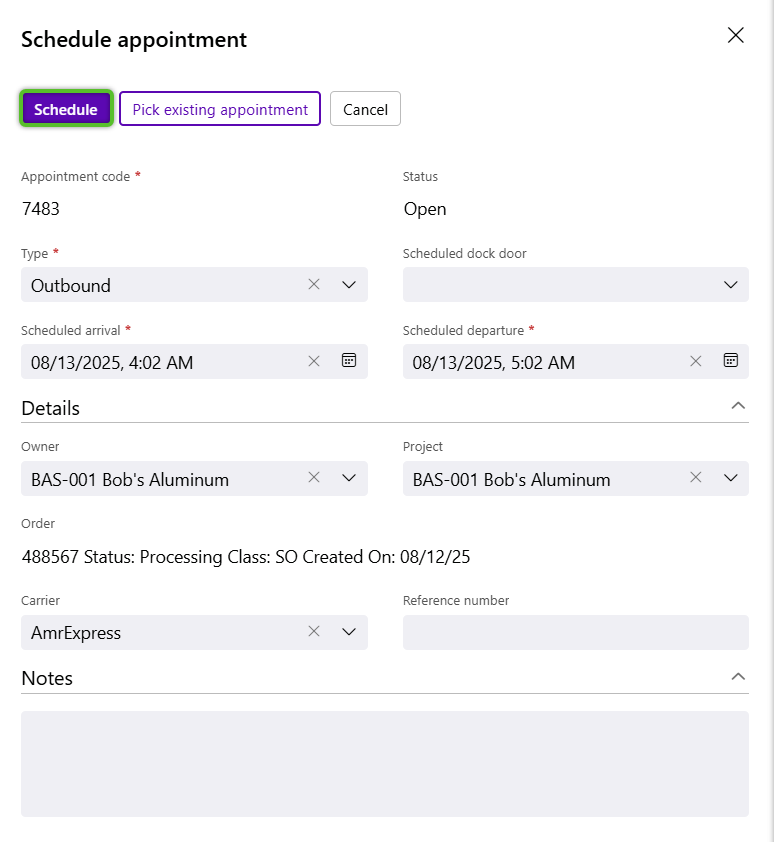
In the Create Dock Appointment window, the Lookup Code, Type, and Status will be populated.
2. Select a Scheduled Dock Door.
Note
Dock Appointments with no Dock Door will show as "Unassigned" for the scheduled date and time instead of a specific Dock Door.
3. Update the Scheduled Arrival and Scheduled Departure times, populated based on the current time.
4. Select the Owner and Project.
5. Search for and select the Outbound Order for the Dock Appointment.
These fields will already be populated when the Dock Appointment is created from an Outbound Order or an Outbound Load Container with these details included.
6. Enter the Carrier and Reference Number when needed.
7. Once all fields have been set to desired values, click the Schedule button in the top left corner.
The Dock Appointment will display in the top Outbound Order toolbar, as well as in the Outbound Hub and the Dock Appointments Hub.
Tip
On the Calendar tab, drag & drop Unassigned Appointment cards from the box along the right directly to a Dock Door time slot on the Calendar.
Dock Appointments can be rescheduled by opening it again, or just by dragging and dropping it to a new time slot on the Calendar.
1. Click the Appointment option in the top Load Container toolbar.
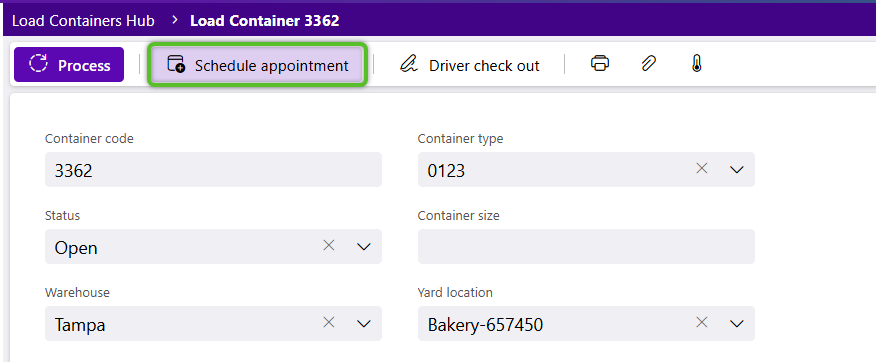
In the Create Dock Appointment window, the Lookup Code, Type, and Status will be populated.
2. Select a Scheduled Dock Door.
Note
Dock Appointments with no Dock Door will show as "Unassigned" for the scheduled date and time instead of a specific Dock Door.
3. Update the Scheduled Arrival and Scheduled Departure times, populated based on the current time.
4. Select the Owner and Project.
5. Search for and select the Outbound Order for the Dock Appointment.
These fields will already be populated when the Dock Appointment is created from an Outbound Order or an Outbound Load Container with these details included.
6. Enter the Carrier and Reference Number when needed.
7. Once all fields have been set to desired values, click the Schedule button in the top left corner.
The Dock Appointment will display in the top Outbound Order toolbar, as well as in the Outbound Hub and the Dock Appointments Hub.
Tip
On the Calendar tab, drag & drop Unassigned Appointment cards from the box along the right directly to a Dock Door time slot on the Calendar.
Dock Appointments can be rescheduled by opening it again, or just by dragging and dropping it to a new time slot on the Calendar.
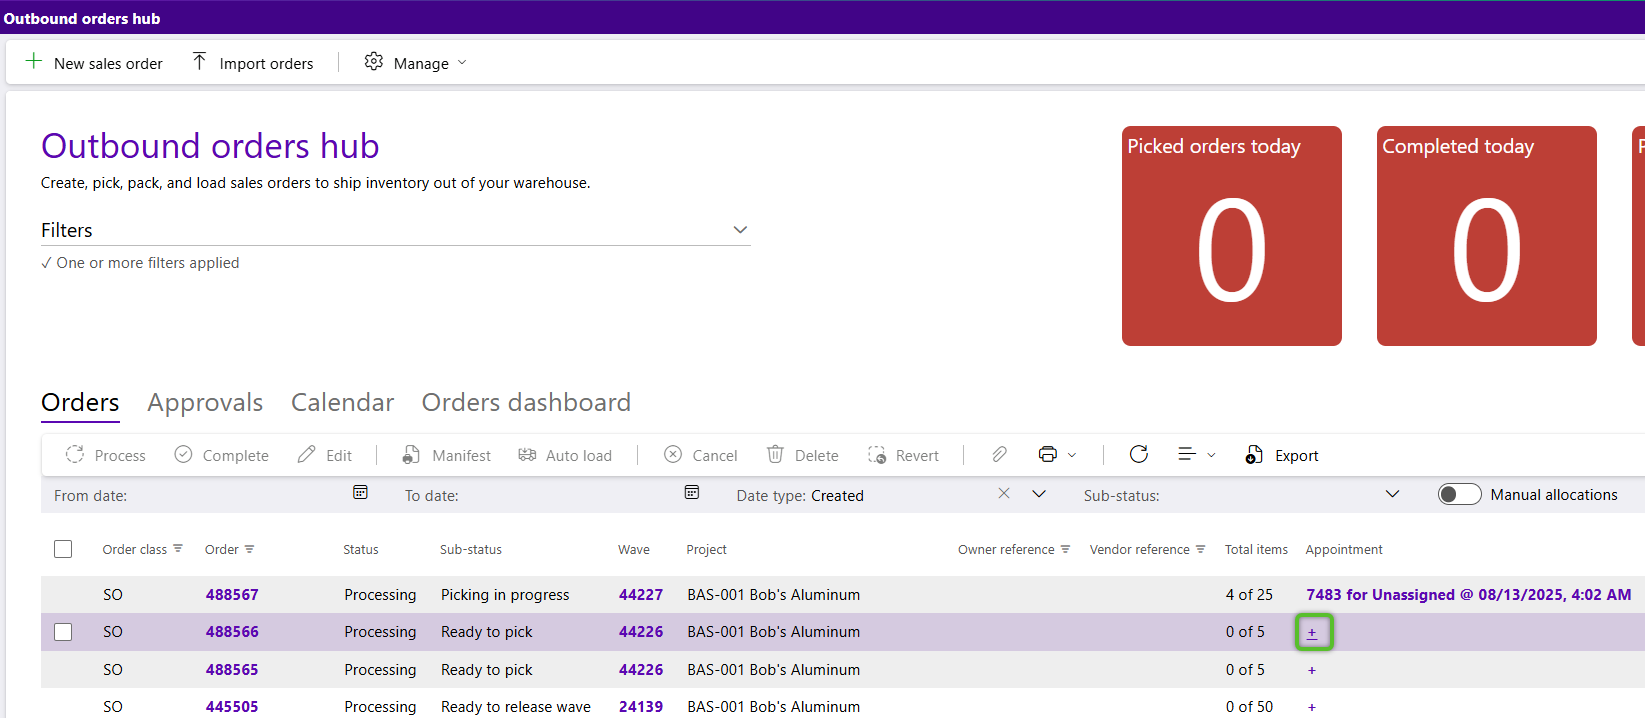
1. Locate the Outbound Order in the Orders tab, then click the blue + plus in that row to create the Dock Appointment.
Users can also click the Calendar tab to create the Dock Appointment directly from the Calendar itself.
In the Create Dock Appointment window, the Lookup Code, Type, and Status will be populated.
2. Select a Scheduled Dock Door.
Note
Dock Appointments with no Dock Door will show as "Unassigned" for the scheduled date and time instead of a specific Dock Door.
3. Update the Scheduled Arrival and Scheduled Departure times, populated based on the current time.
4. Select the Owner and Project.
5. Search for and select the Outbound Order for the Dock Appointment.
These fields will already be populated when the Dock Appointment is created from an Outbound Order or an Outbound Load Container with these details included.
6. Enter the Carrier and Reference Number when needed.
7. Once all fields have been set to desired values, click the Schedule button in the top left corner.
The Dock Appointment will display in the top Outbound Order toolbar, as well as in the Outbound Hub and the Dock Appointments Hub.
Tip
On the Calendar tab, drag & drop Unassigned Appointment cards from the box along the right directly to a Dock Door time slot on the Calendar.
Dock Appointments can be rescheduled by opening it again, or just by dragging and dropping it to a new time slot on the Calendar.
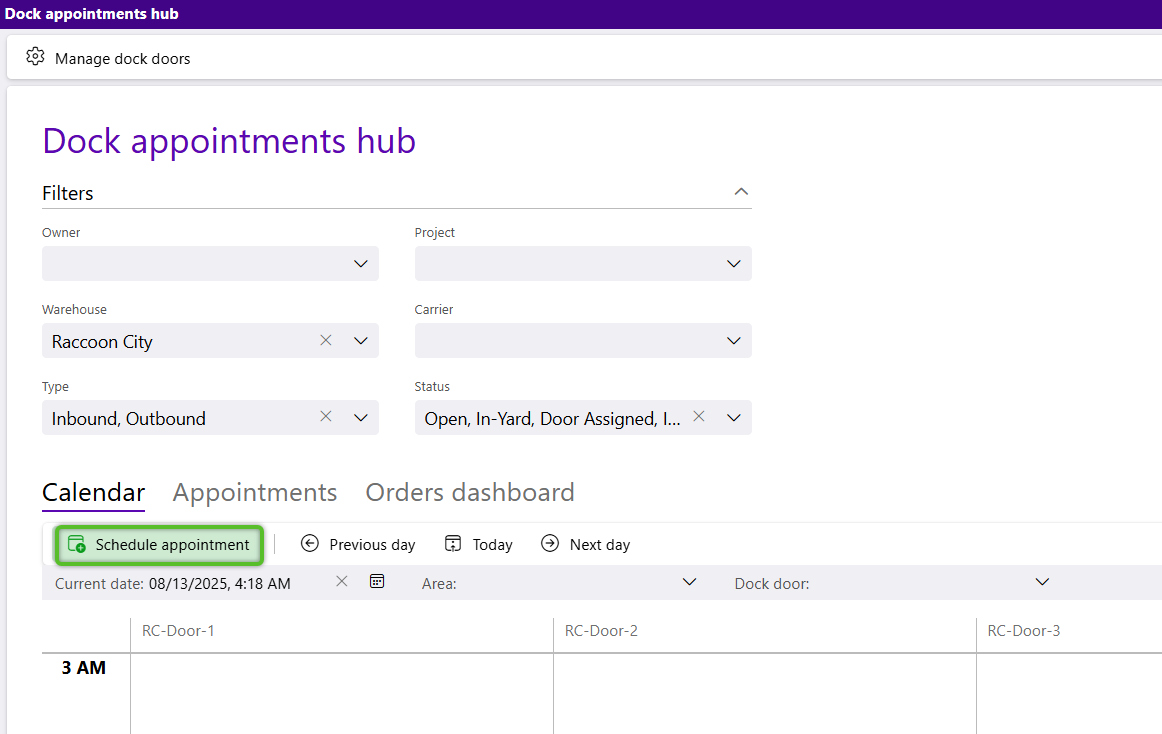
1. Click + Create Appointment in the Calendar tab toolbar, or click directly into the time slot in the Calendar itself.
In the Create Dock Appointment window, the Lookup Code, Type, and Status will be populated.
2. Select a Scheduled Dock Door.
Note
Dock Appointments with no Dock Door will show as "Unassigned" for the scheduled date and time instead of a specific Dock Door.
3. Update the Scheduled Arrival and Scheduled Departure times, populated based on the current time.
4. Select the Owner and Project.
5. Search for and select the Outbound Order for the Dock Appointment.
These fields will already be populated when the Dock Appointment is created from an Outbound Order or an Outbound Load Container with these details included.
6. Enter the Carrier and Reference Number when needed.
7. Once all fields have been set to desired values, click the Schedule button in the top left corner.
The Dock Appointment will display in the top Outbound Order toolbar, as well as in the Outbound Hub and the Dock Appointments Hub.
Tip
On the Calendar tab, drag & drop Unassigned Appointment cards from the box along the right directly to a Dock Door time slot on the Calendar.
Dock Appointments can be rescheduled by opening it again, or just by dragging and dropping it to a new time slot on the Calendar.
| Last Updated: |
| 06/06/2025 |
Copyright © 2026 Datex Corporation