How to Create Inspection Tasks
Inspection Tasks can be assigned to allow specific details to be verified, such as Quantity and Lots.
1. To create a new Inspection Task, click Planning in the left navigation menu, then click Inspections submenu option.
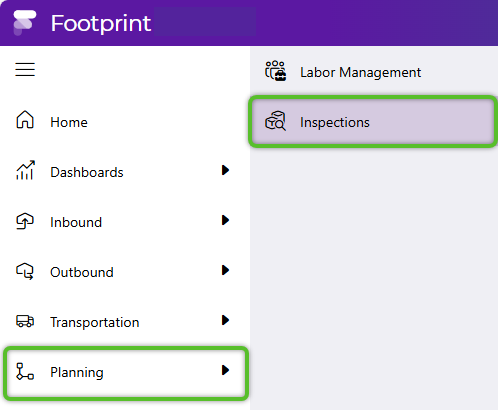
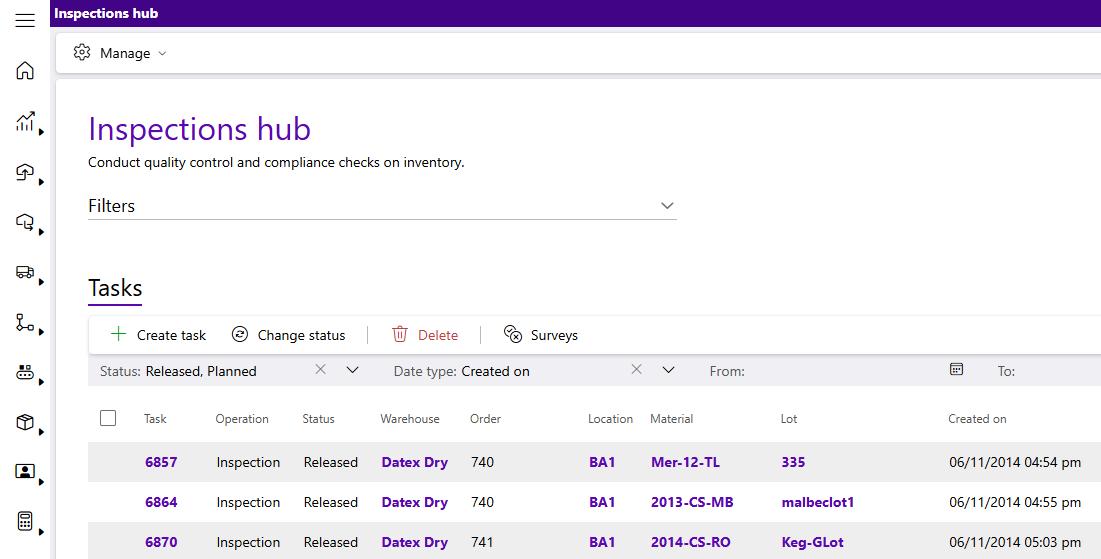
The Inspections Hub will display.
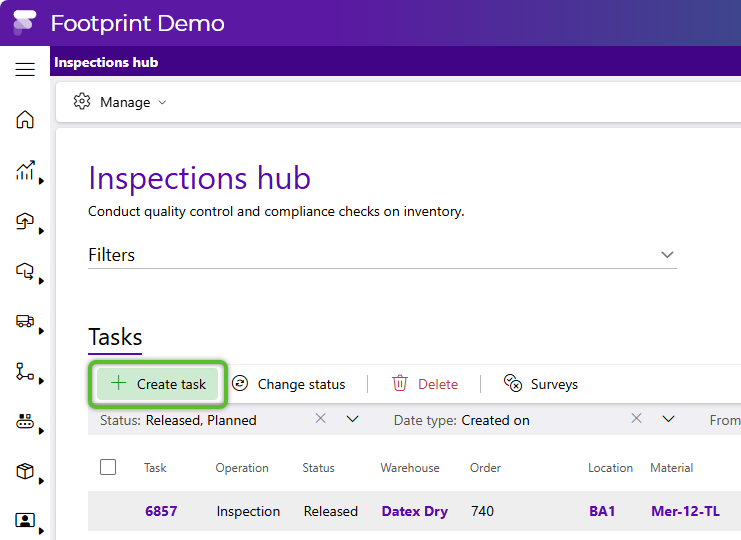
2. Click the + Create task option in the Tasks tab toolbar.
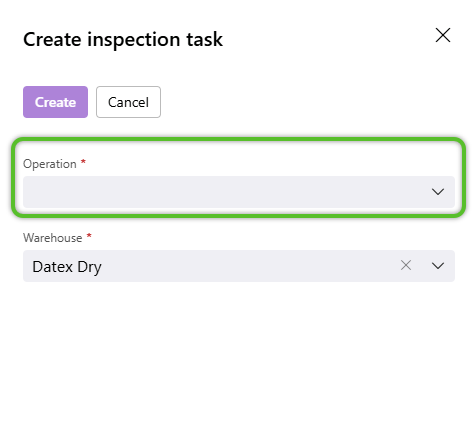
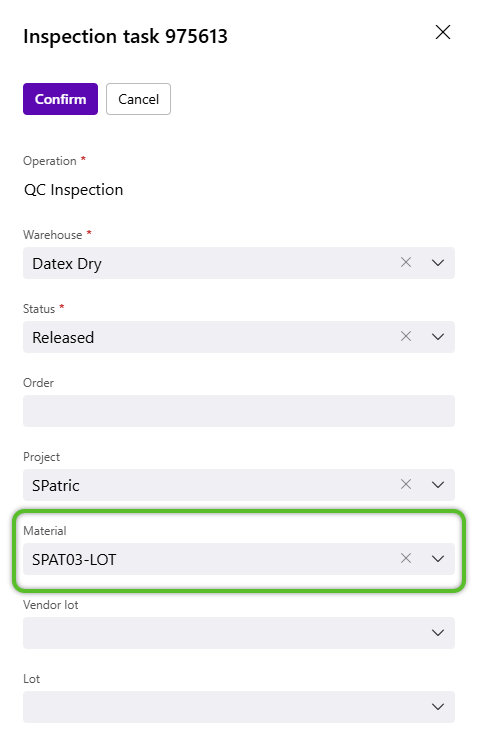
In the Create inspection task window, the Warehouse will populated based on user.
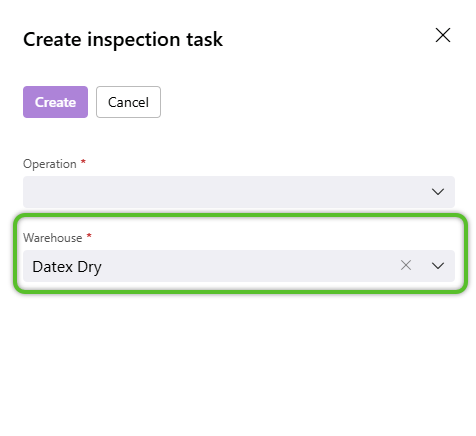
3. Select a required Inspection Task Operation.
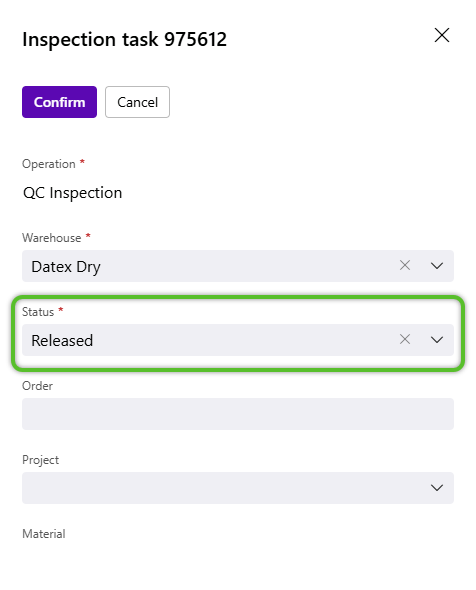
When the screen updates, the Status defaults to Released and can be changed.
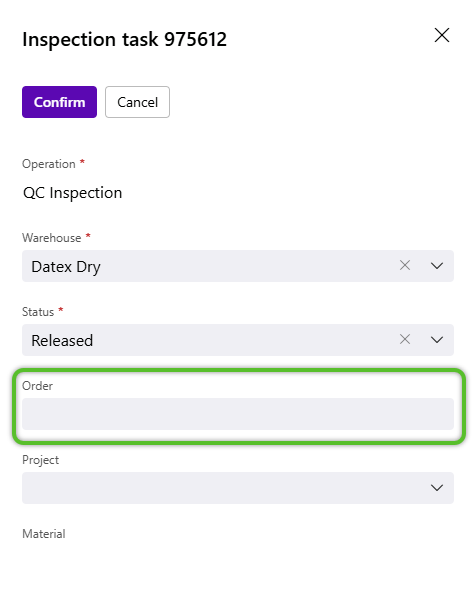
4. When necessary, assign the new Inspection Task to a specific Order or Orders.
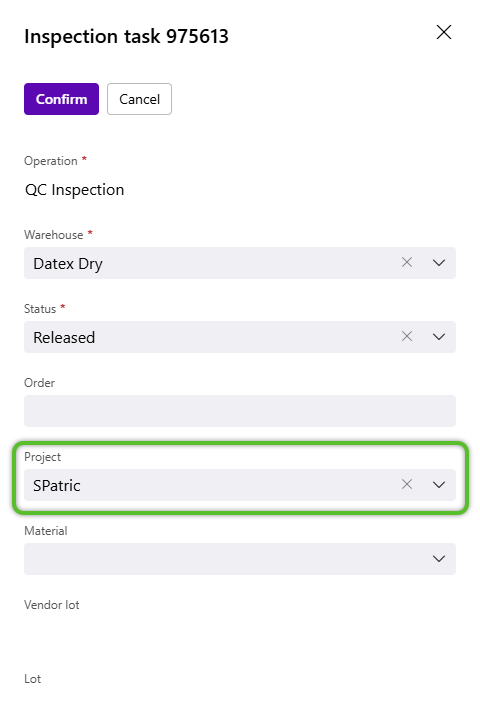
5. (Optional) Specify a single Project to which this new Inspection Task will be available. When a Project is selected here, the Inspection Task will not be available for other Projects.
6. (Optional) Specify a Material to which this new Inspection Task will apply. When a Material is selected here, the Inspection Task will no be available for other Materials in the Project.
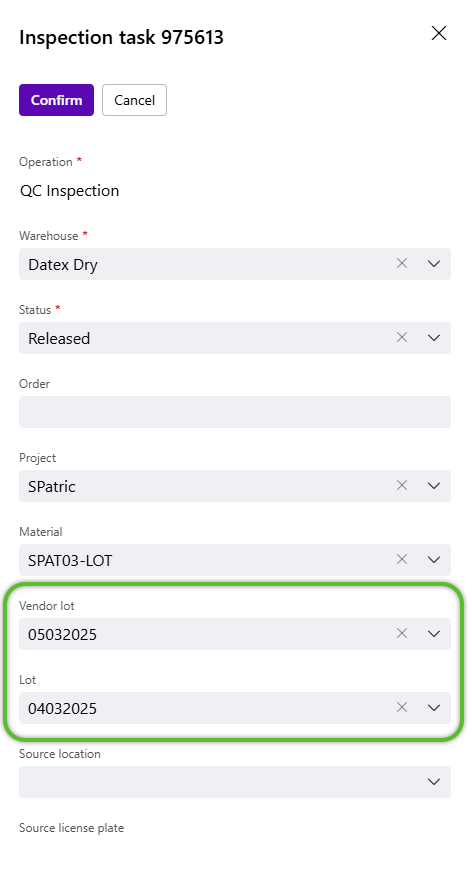
7. (Optional) Select a Vendor Lot and Lot.
8. (Optional) Select a Source Location and specify a Source License Plate.
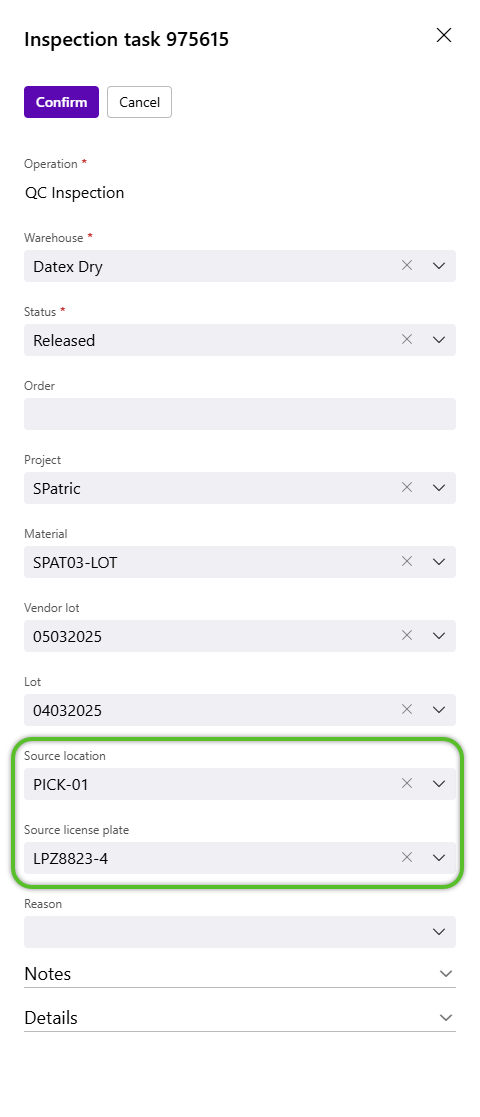
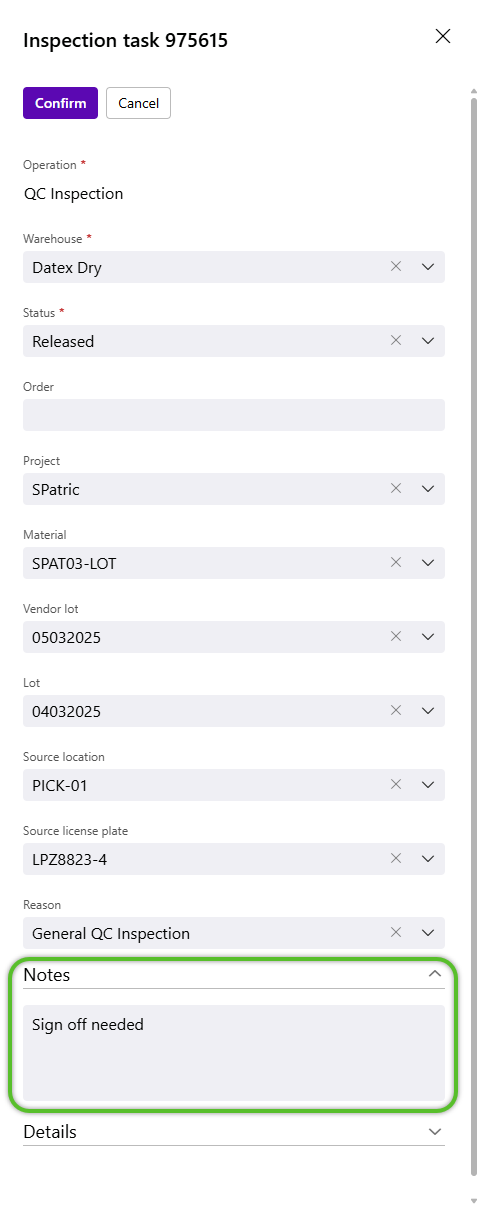
9. (Optional) Select a Reason for the new Inspection Task.
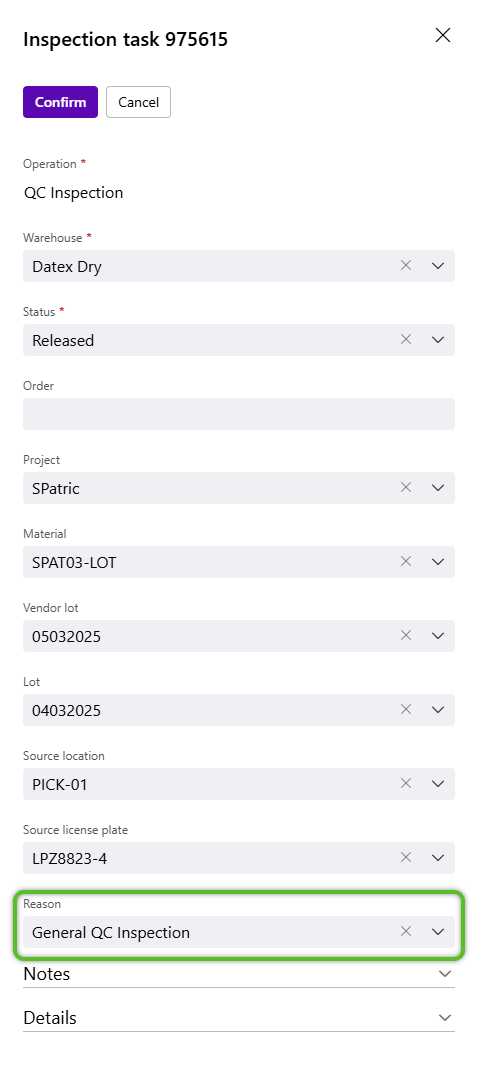
10. (Optional) Enter any Notes for the Inspection Task.
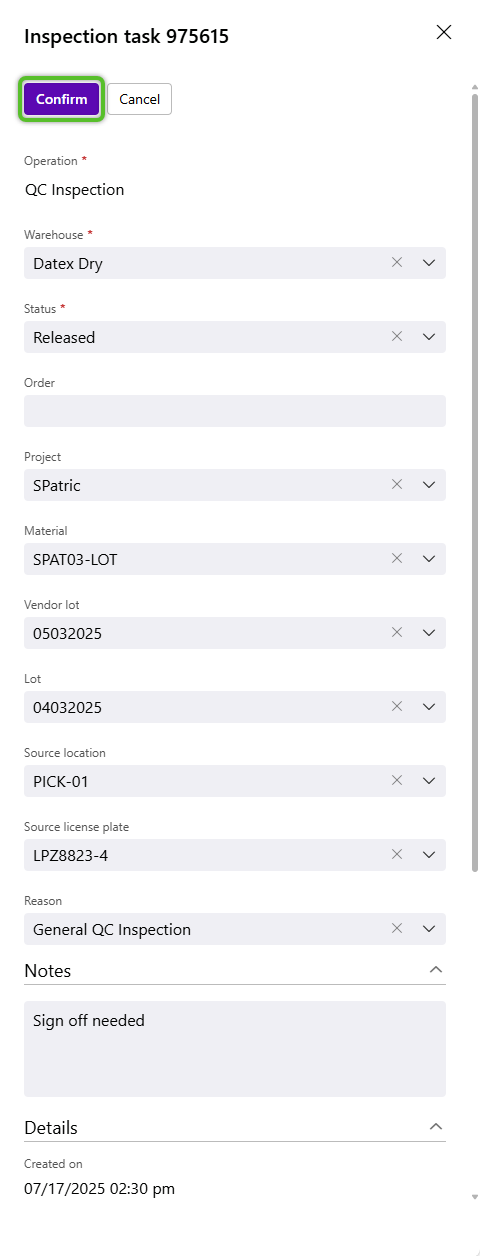
11. Click the Confirm button in the top left corner of the window to save the new Inspection Task.
| Last Updated: |
| 07/17/2025 |
Copyright © 2026 Datex Corporation