Setup Auto-Invoice Instructions
Auto-Invoicing is designed to streamline the invoicing process by automating the generation of invoices based on predefined Invoice Rules. For Auto-Invoicing to occur, Auto-Invoicing Rules must be created and enacted. This tutorial will guide you through accessing, managing, and optimizing a Project's Auto Invoicing Rules.
Prerequisites
- Owner
- Project
- Billing Contract
- Available Billing Records
Please Note
-
Operation Codes, Billing Strategies, Terms, Currencies, and Tax Schedules must already be configured.
-
Billing Contracts can be used along with external accounting software.
For assistance managing these billing presets or setting up external Billing, please contact Datex.
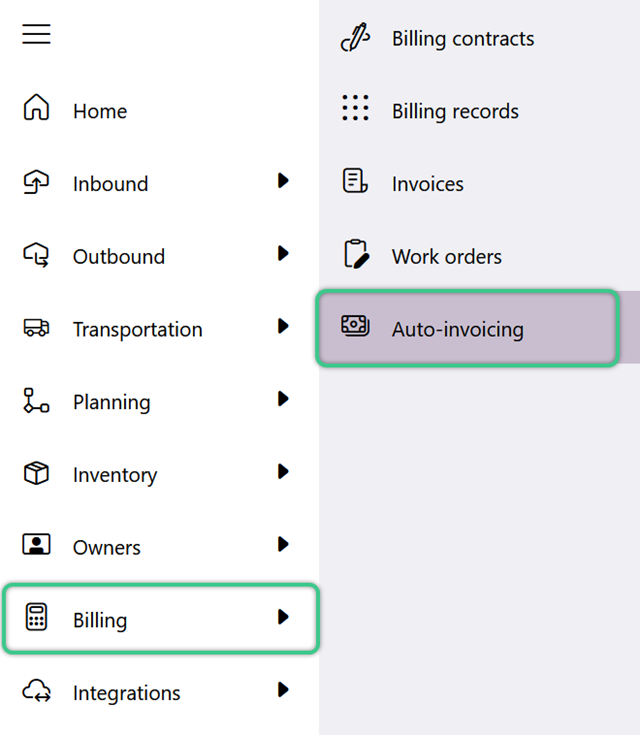
1. Click the Billing int the left navigation menu, then select Auto-Invoicing.
The Auto-Invoicing Rules Hub will display.
Auto-Invoicing Rules can also be managed directly from a Project and a Billing Contract. Changes made here will reflect across all associated Billing Contracts.
When viewing a Project, click the options icon in the top toolbar, then select Auto-Invoicing Rules.
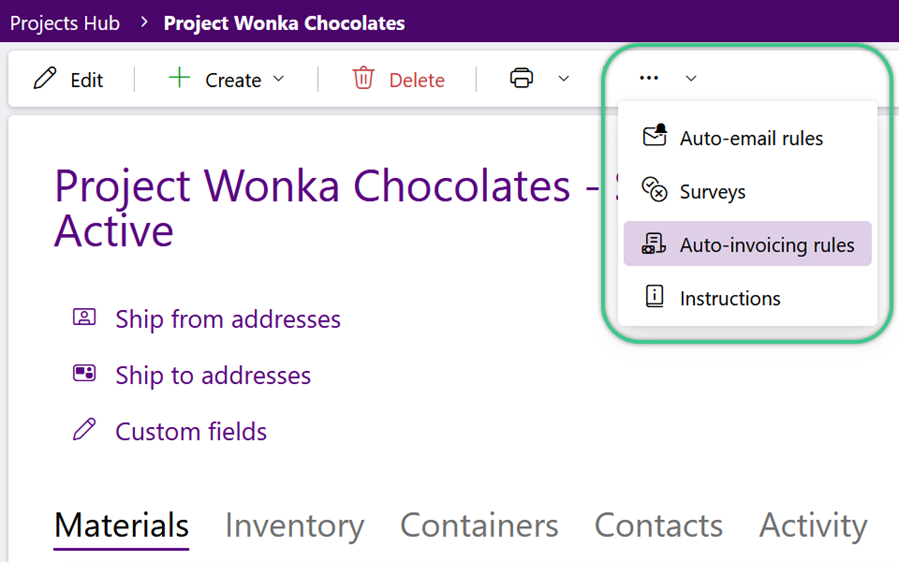
When viewing a Billing Contract, simply click the Auto-Invoicing Rules tab.

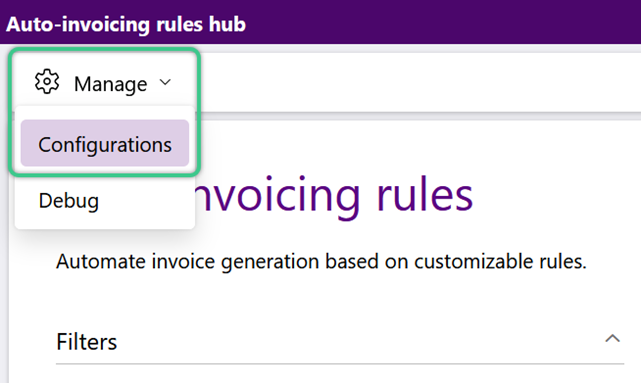
Auto-Invoicing Configurations can only be set in the Auto-Invoicing Hub. These Configurations will apply to all Auto-Invoicing Rules, regardless of Project or Contract.
1. Click the green Manage option in the top toolbar, then select Configurations.
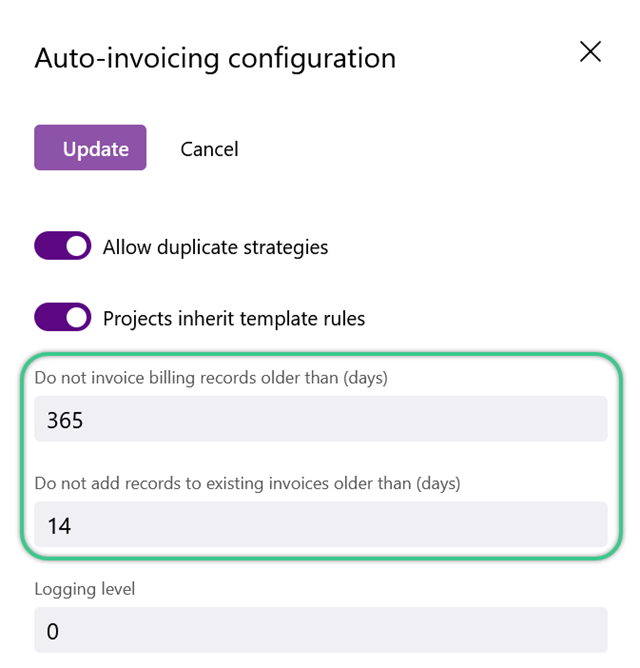
2. Use the toggles to determine whether or not Auto-Invoicing Rules will Allow Duplicate Strategies and if Projects should Inherit Template Rules.
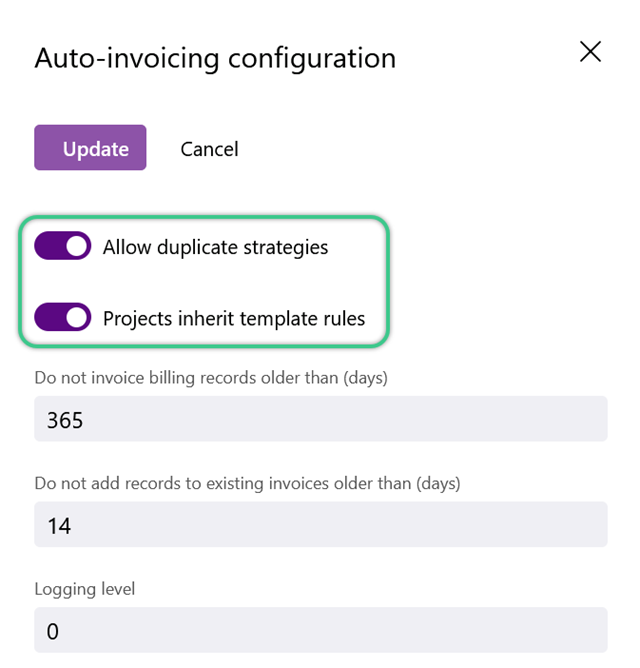
3. Specify a number of days for the Do Not Invoice Billing Records Older Than (Days) and Do Not Add Records to Existing Invoices Older Than (Days) fields.
4. Set the Logging level when debugging is needed.
When set, debugging Transactions and Logs will be created and can be viewed by going to Manage in the top toolbar and selecting Debug.
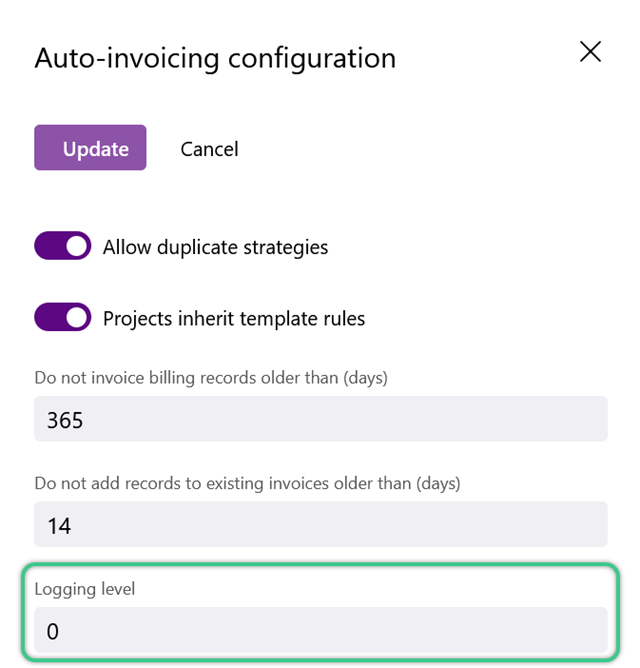
5. Click the purple Update button to save these settings.

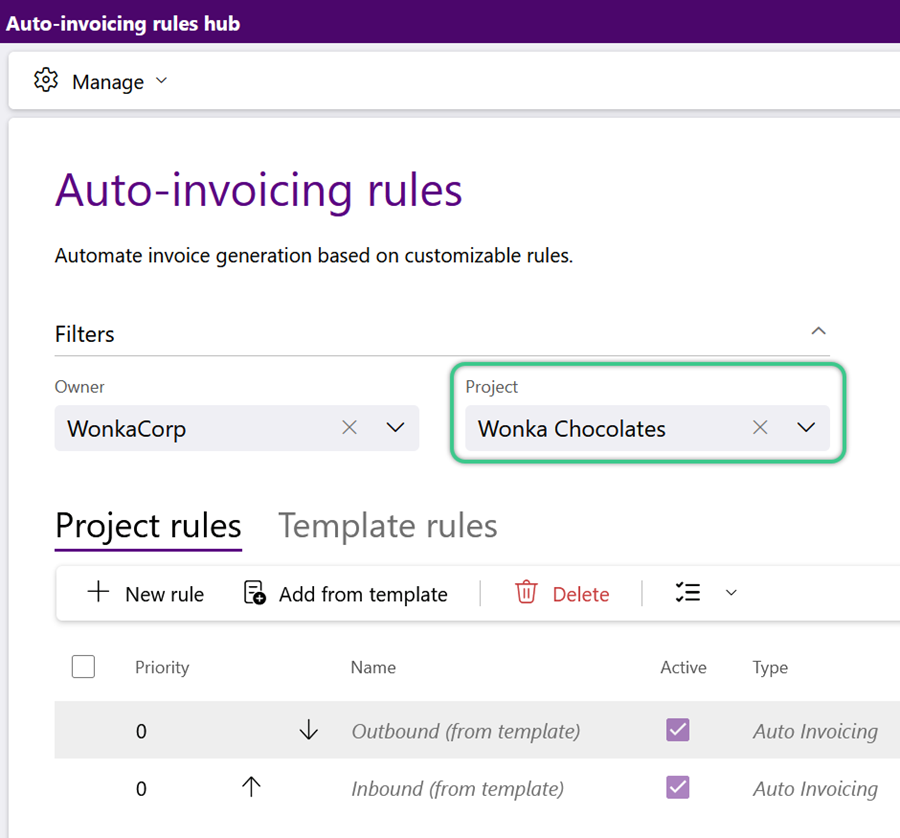
1. Filter for the Project requiring the new rule.
The Project Rules tab will populate any existing rules, including Template Rules if the toggle in Step 2.2 above is enabled.
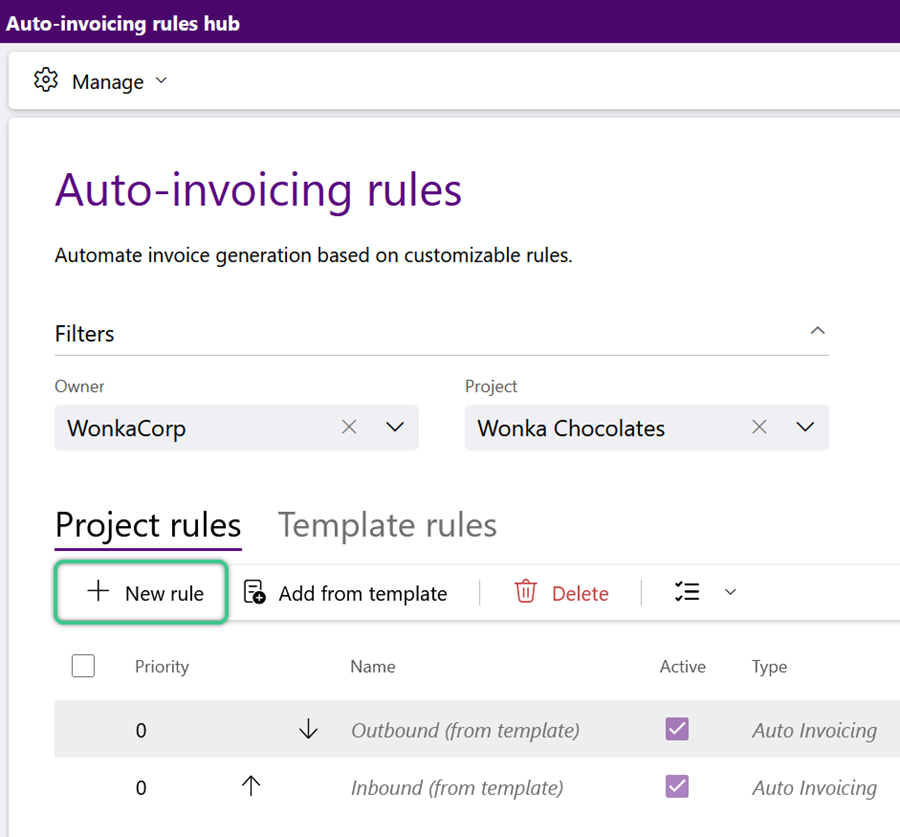
2. Click the green + New Rule option in the Project Rules or Template Rules tab toolbar.
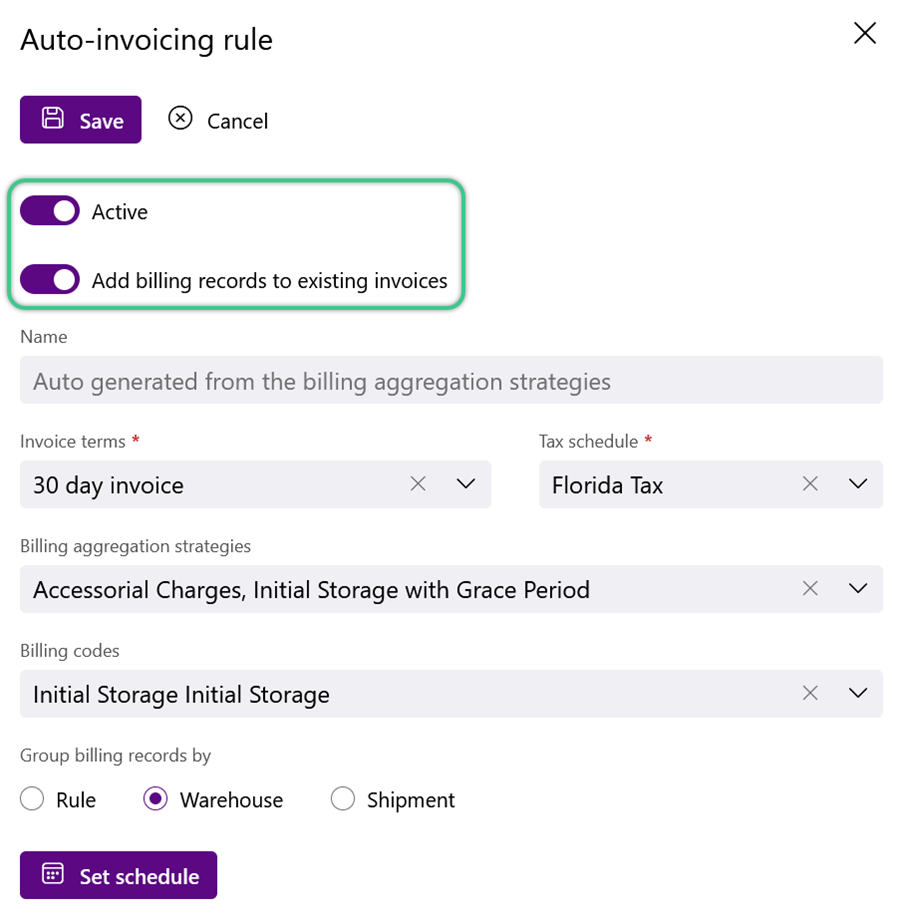
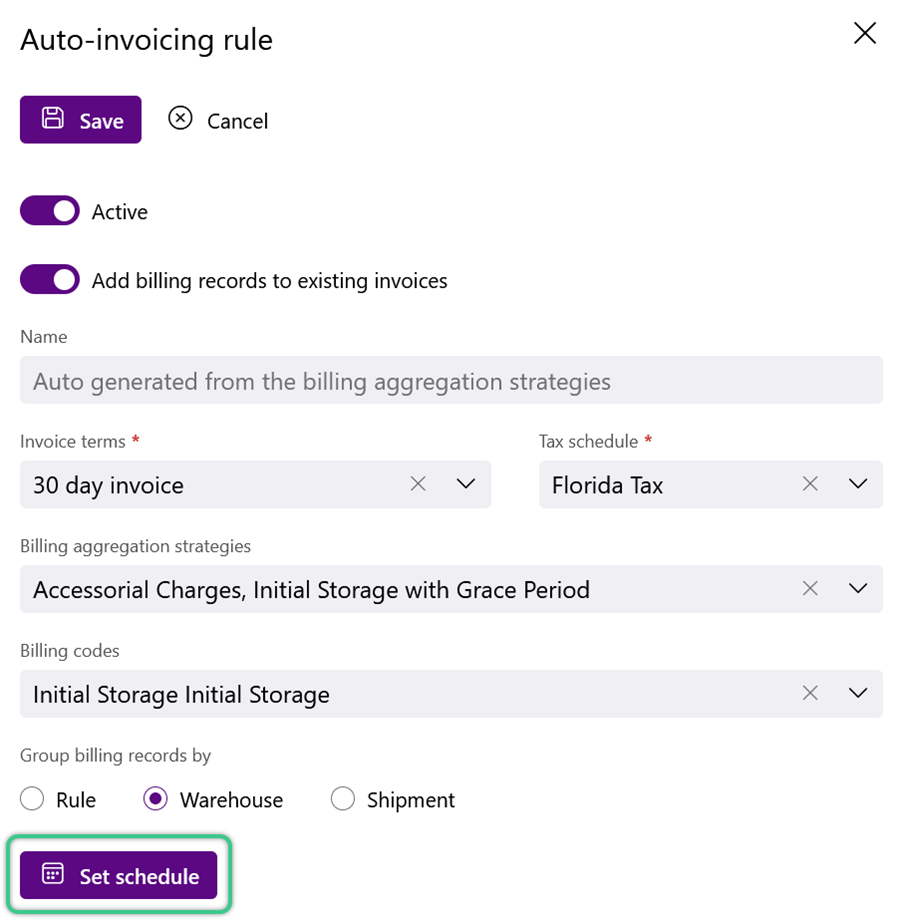
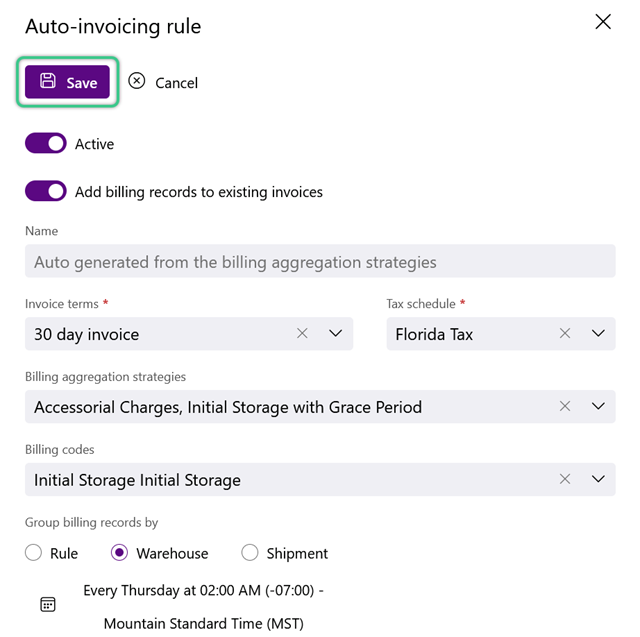
1. Use the toggles to determine whether or not the new rule is Active and to Add Billing Records to Existing Invoices.
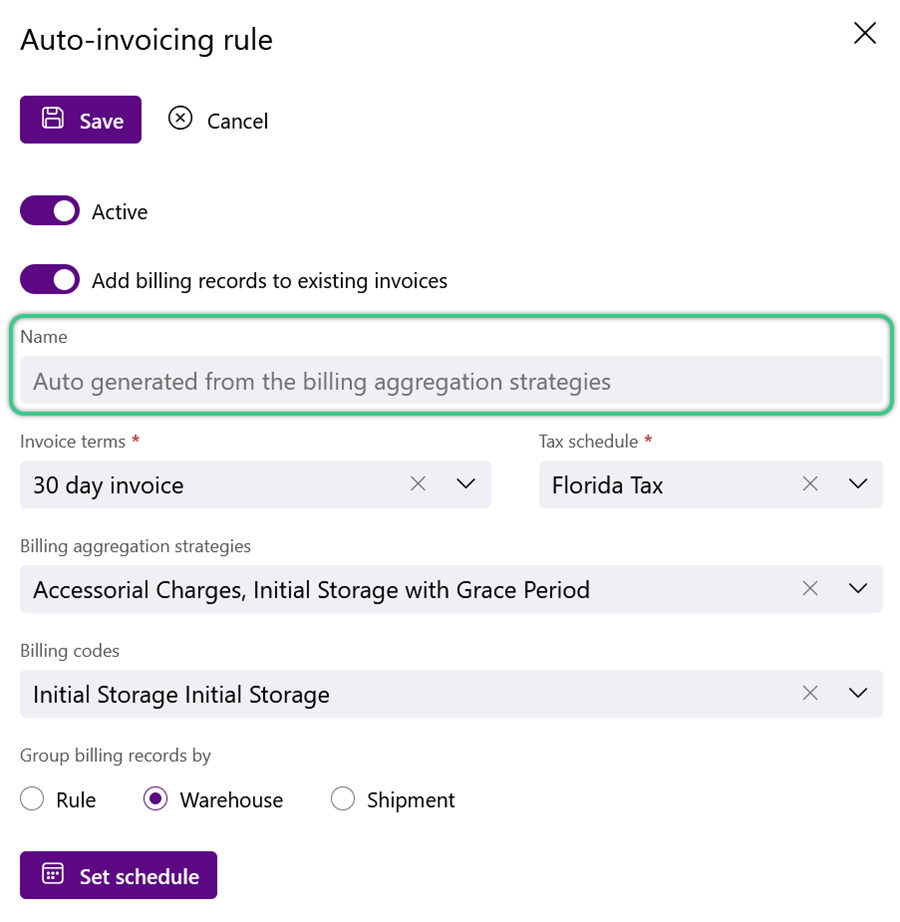
2. Enter a Name for the new auto-invoicing rule, or let the system generate one based on the Billing Aggregation Strategies selected in Step 4 below.
3. Select the Invoice Terms and the correct Tax Schedule.

4. Select the Billing Aggregation Strategies for the new auto-invoicing rule. More than one can be selected.

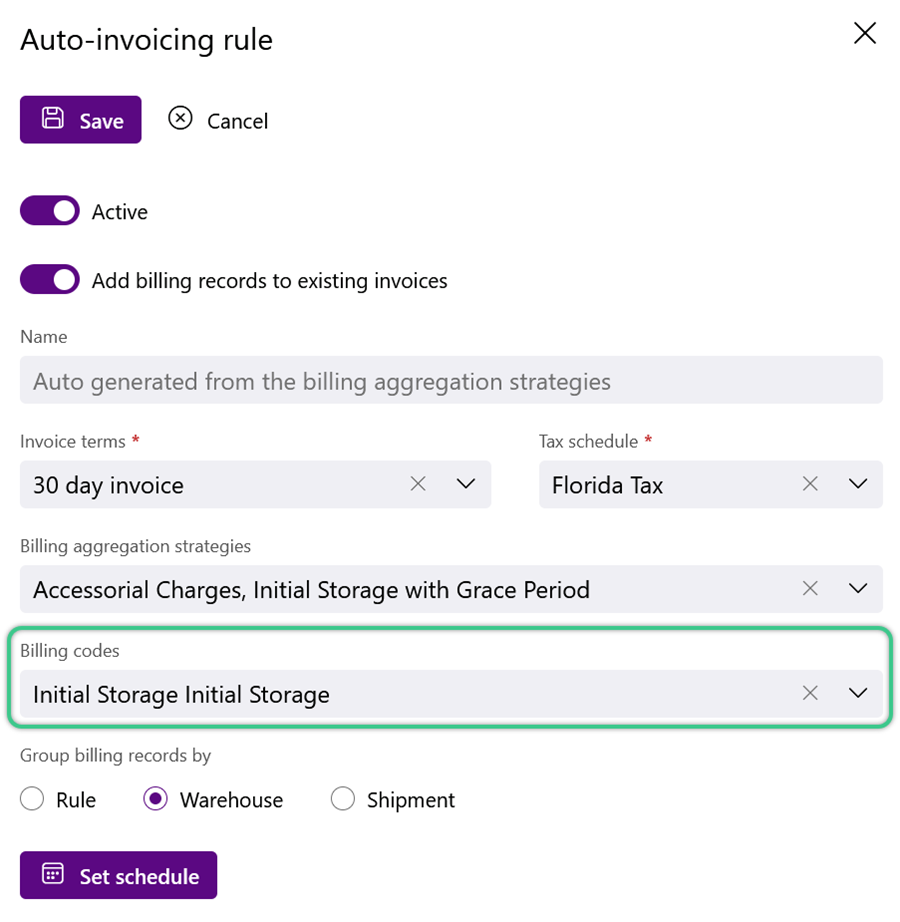
5. Select the Billing Codes for the new rule. More than one can be selected.
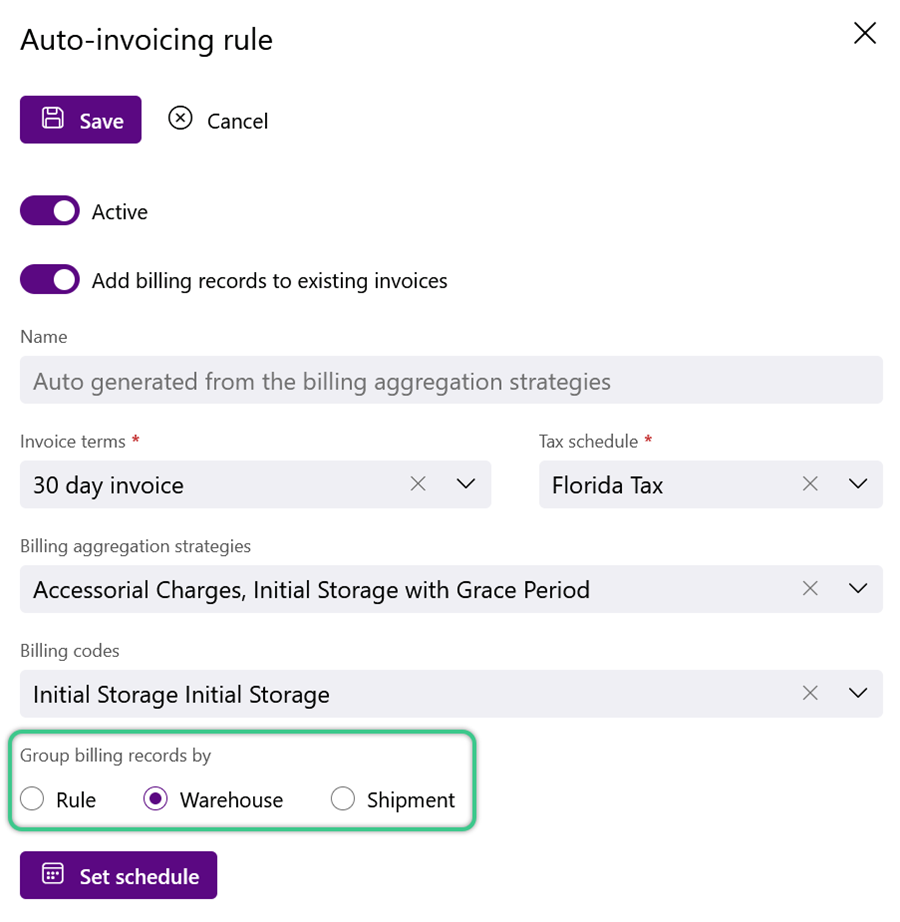
6. Choose to Group Billing Records By:
-
Rule
-
Warehouse
-
Shipment
All active rules must have a schedule set to be saved.
1. Click the purple Set Schedule button.
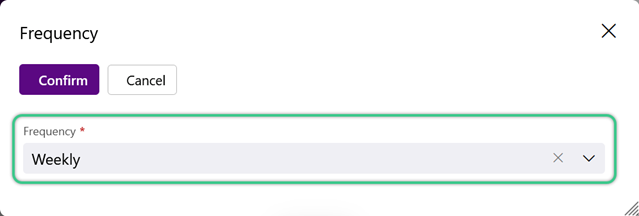
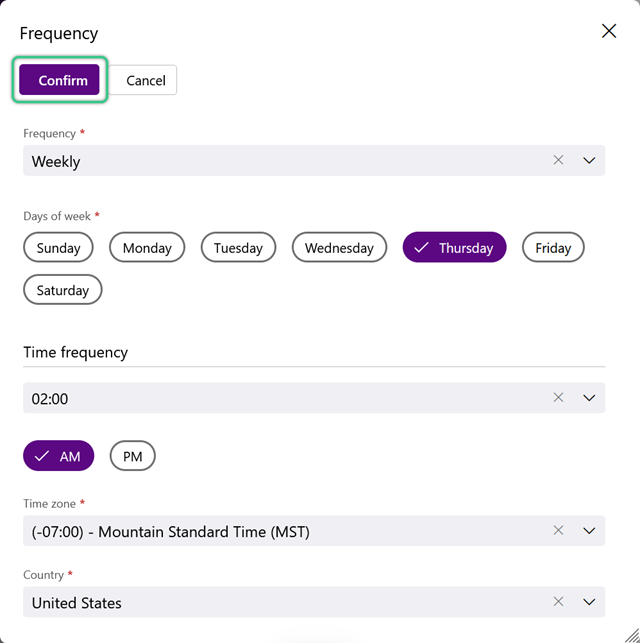
2. Select a Frequency.
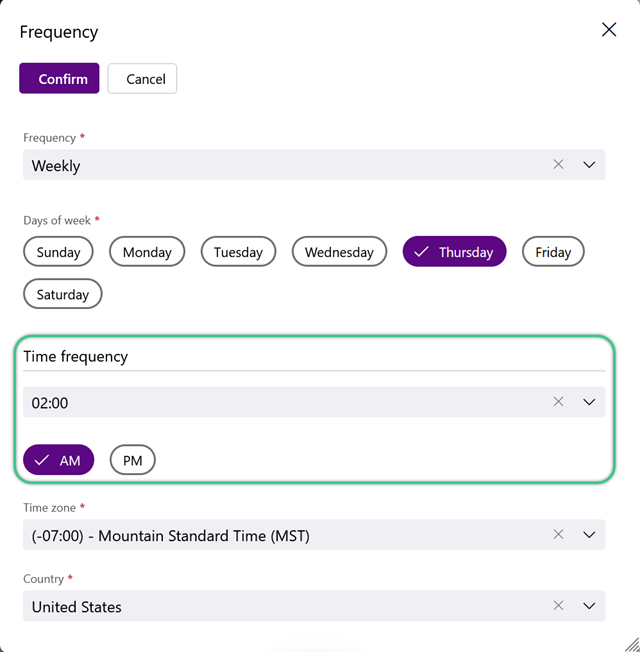
3. Select a Time Frequency and enter any required details for the selected Frequency.
The requested schedule details vary based on the selected Frequency.
4. Select a Time Zone and a Country for the rule schedule.
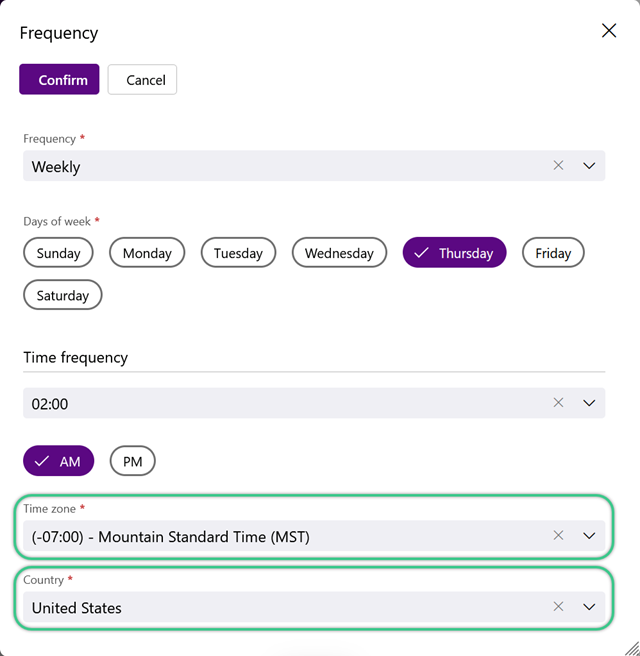
5. Click the purple Confirm button.
1. Click the purple Save button in the top left corner to save and close the Auto-Invoicing Rule window.
| Last Updated: |
| 06/06/2025 |
Copyright © 2026 Datex Corporation