Manage auto-email rules
After an auto-email rule has been created, multiple actions can still be performed. These can be managed either from the project record the rule is assigned to or from the Auto-email rules hub. Regardless the path you take, the available options remain the same.
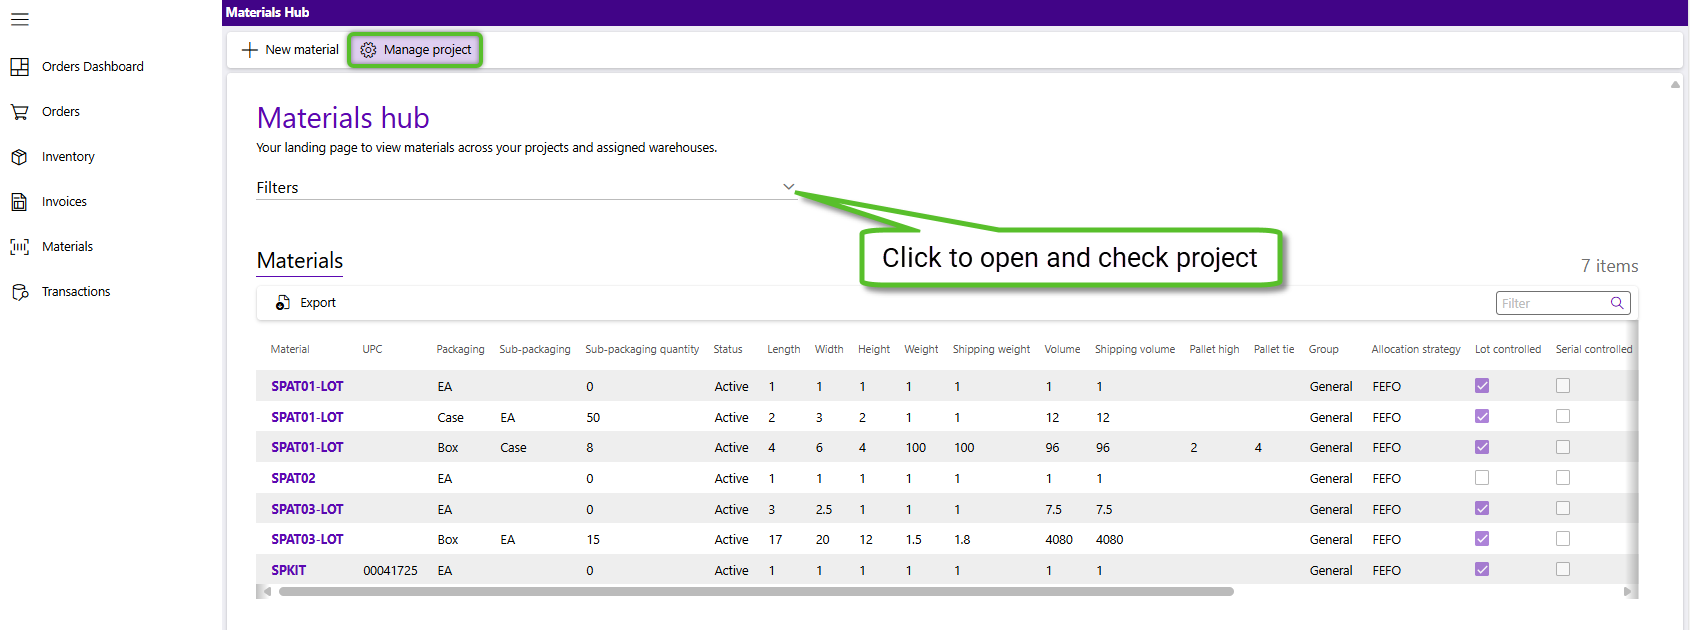
1. From the Materials hub, click the down arrow to the right of the Filters header to open the section and ensure the appropriate Project is set. Then click the Manage project button.
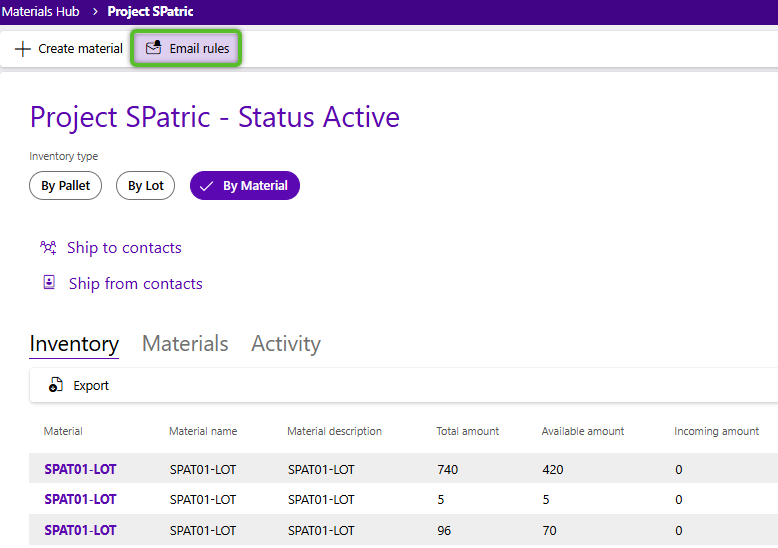
2. Once in the project record, click the Email rules button to view and manage all auto-email rules for the project.
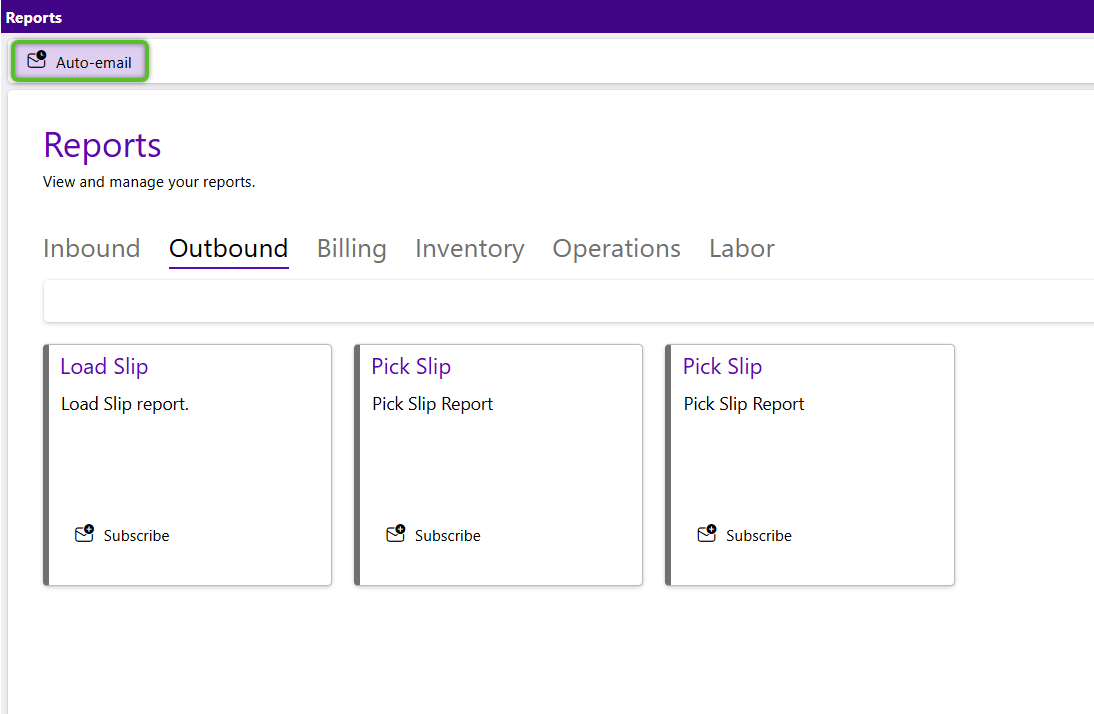
1. From the Reports hub, click the Auto-email button to open the Auto-email rules hub. The view will default to the Rules tab where all rules you have access to will be visible.
1. Locate the rule you're looking for in the grid and hover your mouse over the row until the check box is visible, then check it.
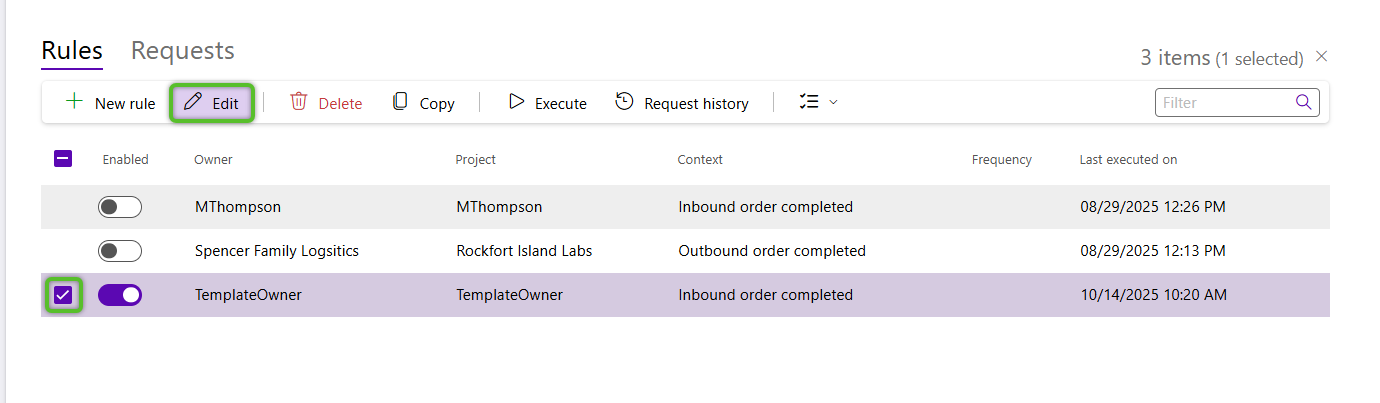
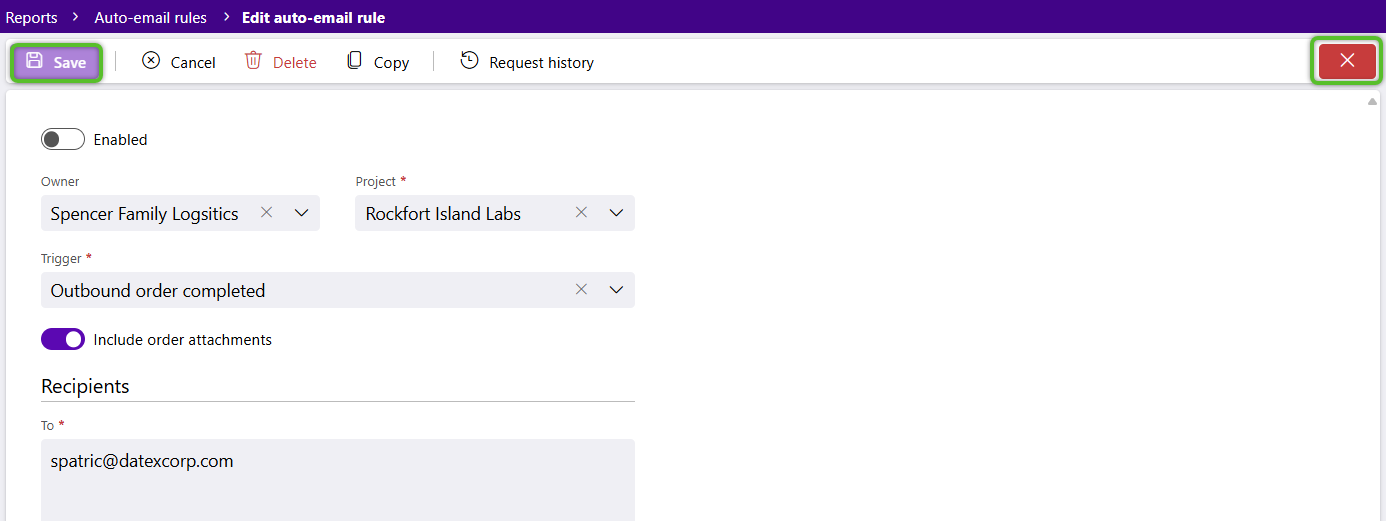
2. Once the row is checked and highlighted, click the Edit button.
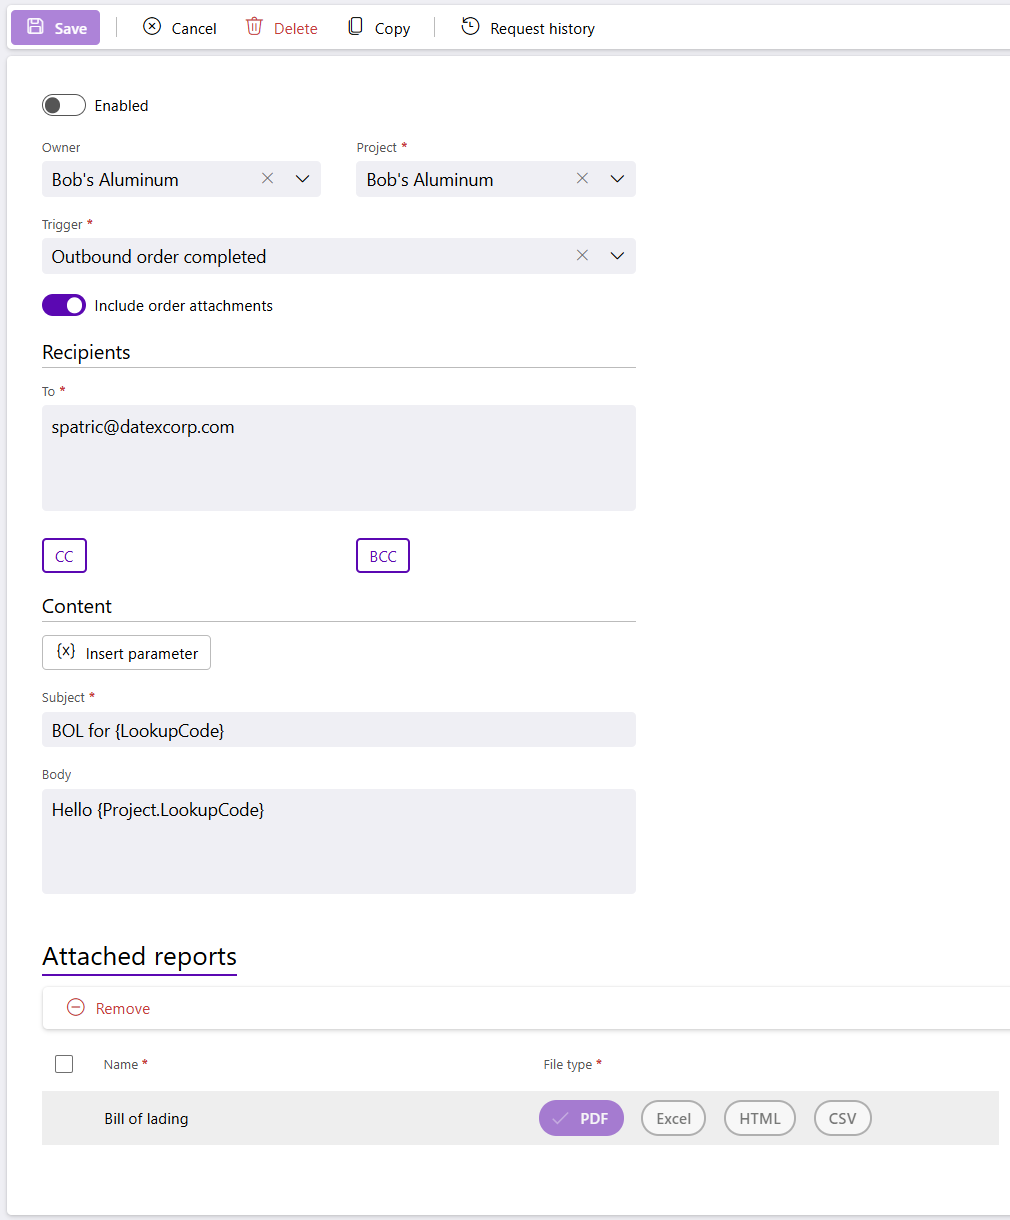
3. The auto-email rule record will open and changes can be made.
4. Once you've completed your changes click the Save button, then the "X" button to close the record.
1. Locate the rule you're looking for in the grid and hover your mouse over the row until the check box is visible, then check it.
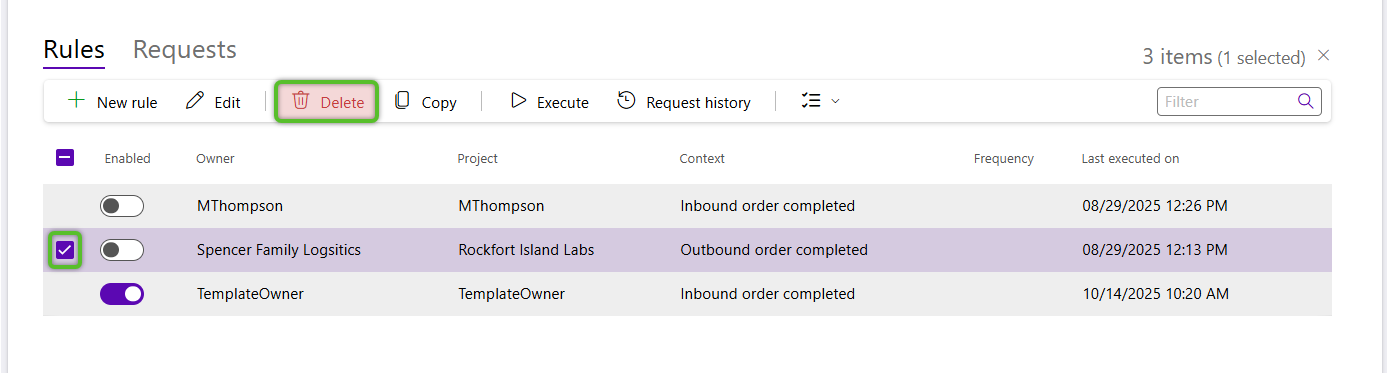
2. Once the row is checked and highlighted, click the Delete button. A confirmation window will open.
3. In the confirmation window, click Delete rule button to proceed.
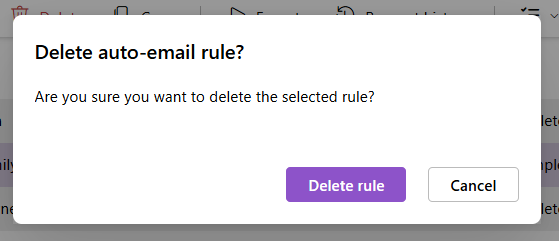
The rule will be deleted. This is not a reversible action. If you wish to stop using a rule for a while, you can always toggle off the Enabled option when editing the rule.
1. Locate the rule you're looking for in the grid and hover your mouse over the row until the check box is visible, then check it.
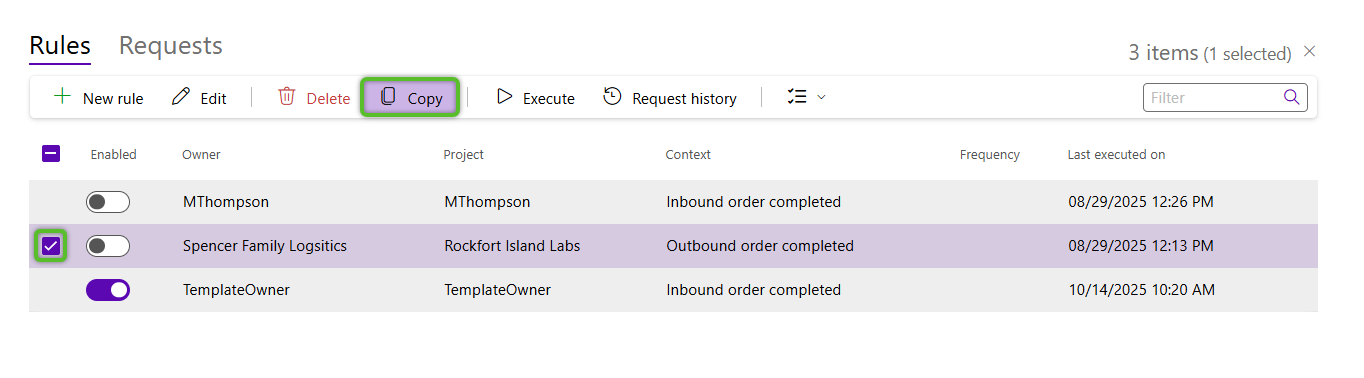
2. Once the row is checked and highlighted, click the Copy button. A window with a form will open.
3. In the rule copy form, select the target Owner and Project for the copy. This can be the same as the source if you are using the rule as a base to create a similar rule with minor adjustments.
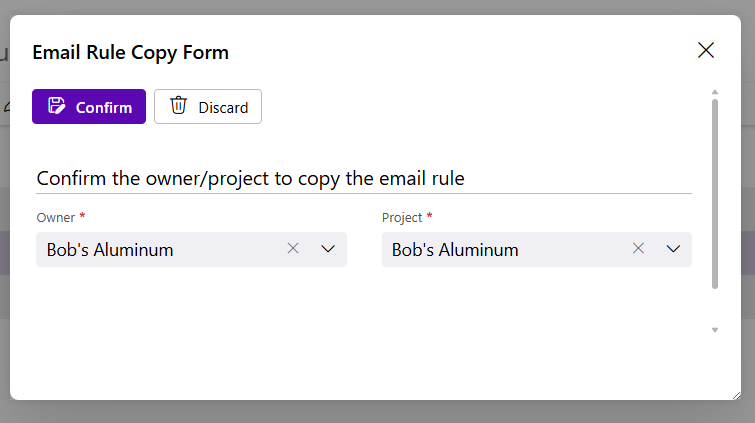
4. Once you've selected your target Owner and Project for the copied rule, click Confirm.
The new rule will open automatically. You can make any adjustments you may need before clicking the Save button, then closing the rule using the "X" button.
1. To manually execute a rule outside its usual trigger conditions or schedule, locate the rule in the grid, hover over the row until the check box is visible, and then select it.

2. Once the row is checked and highlighted, click the Execute button.
The rule will execute and a notification will display to let you know when it is complete. The notification will close on its own.
| Last Updated: |
| 10/15/2025 |
Copyright © 2026 Datex Corporation